This tutorial guides you through managing categories to organize your sample library effectively. You will learn how to search, add, edit, and delete categories to streamline your team’s workflow.
-
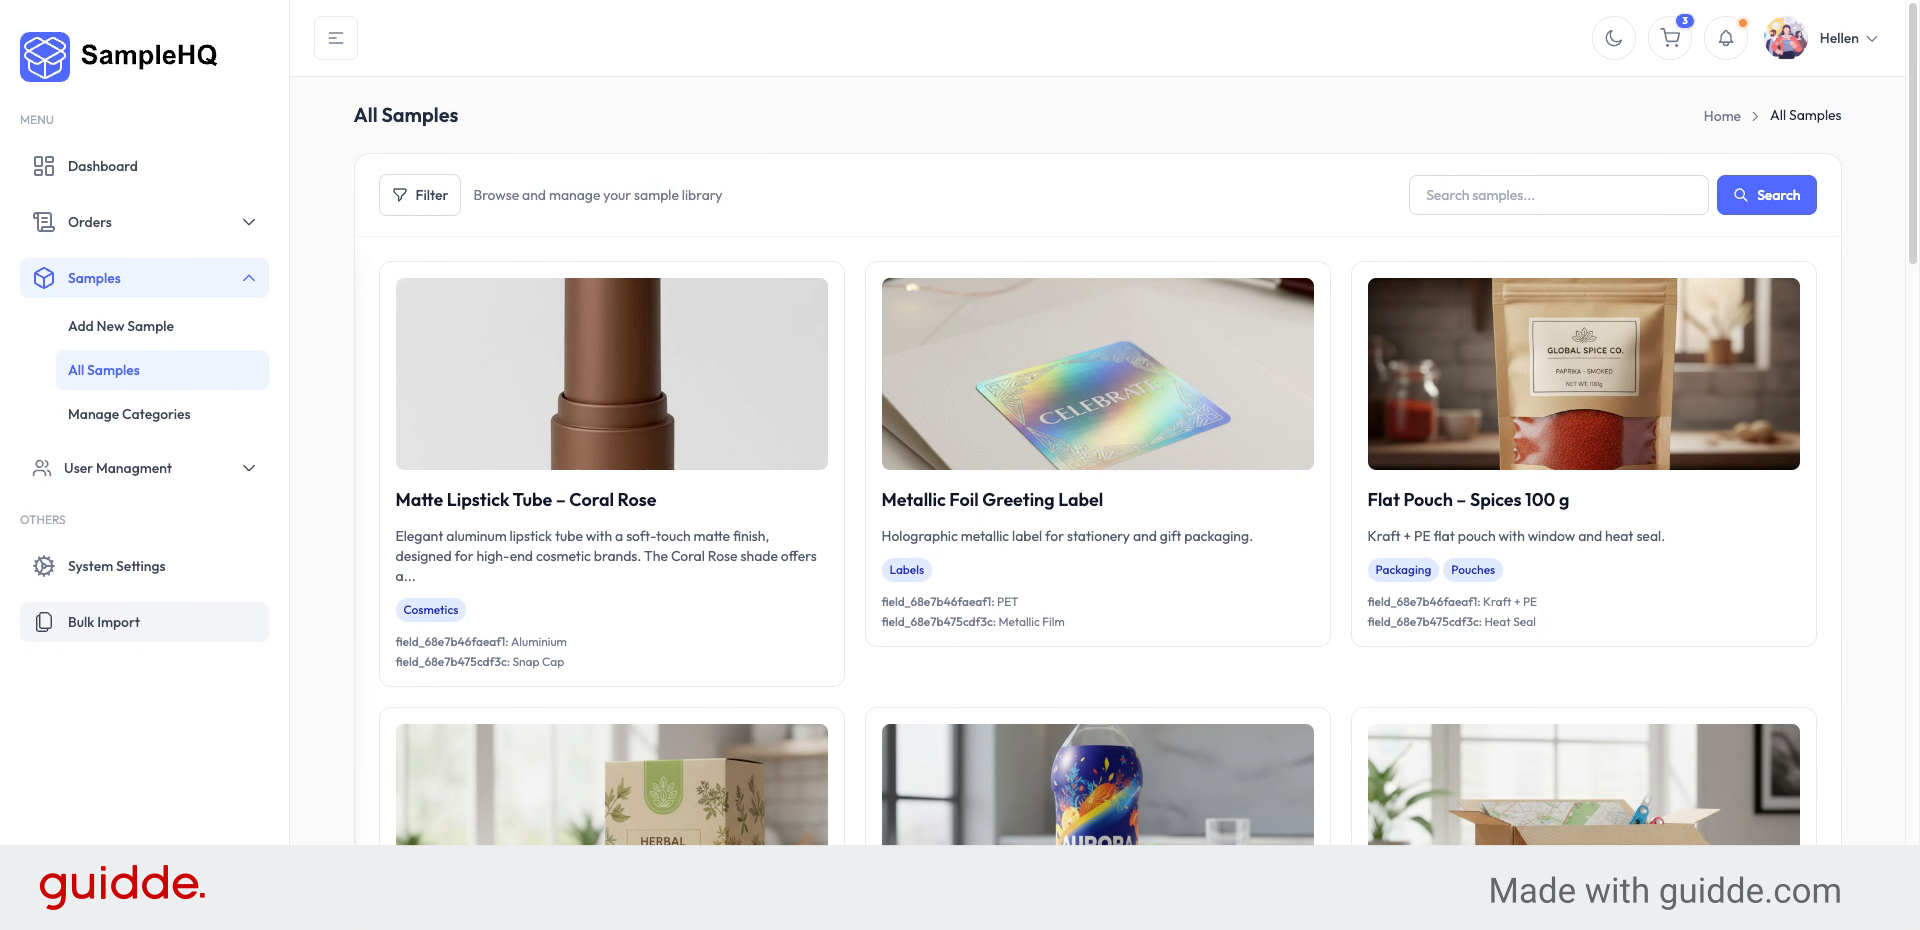
1. Understand Sample Categories Purpose
Sample categories help you organize your sample library, making it easier for your team to browse, search, and filter samples.
-
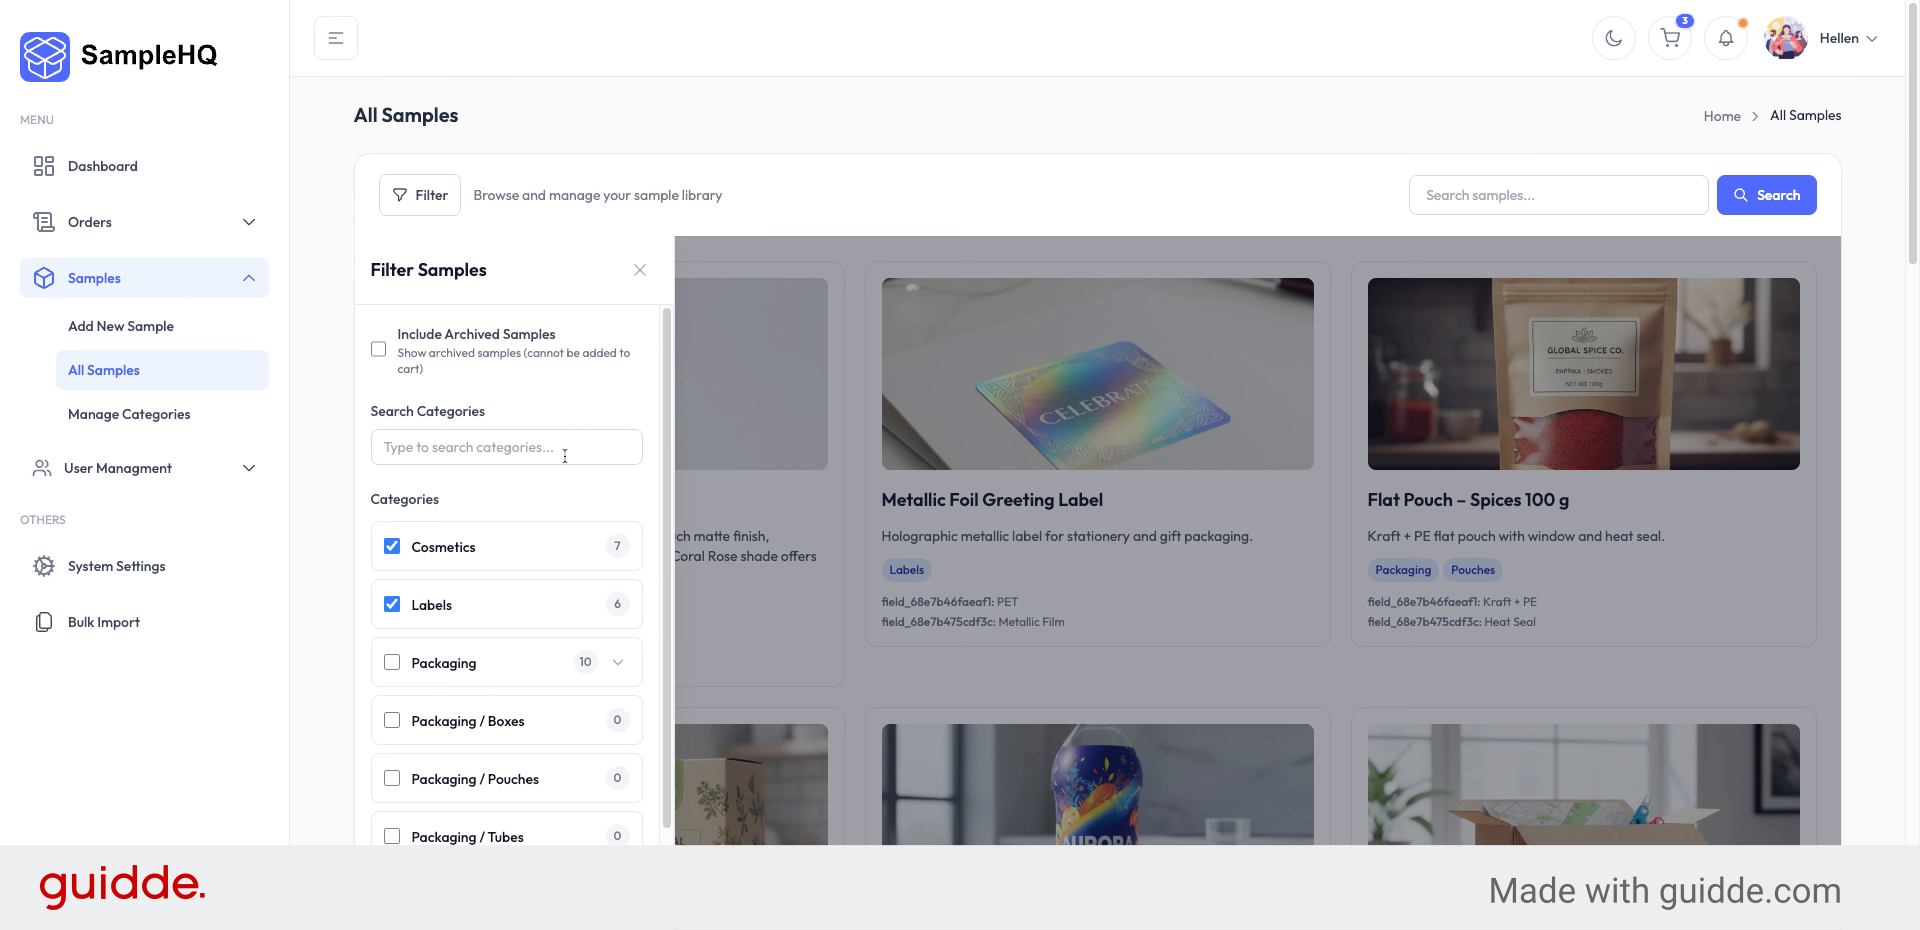
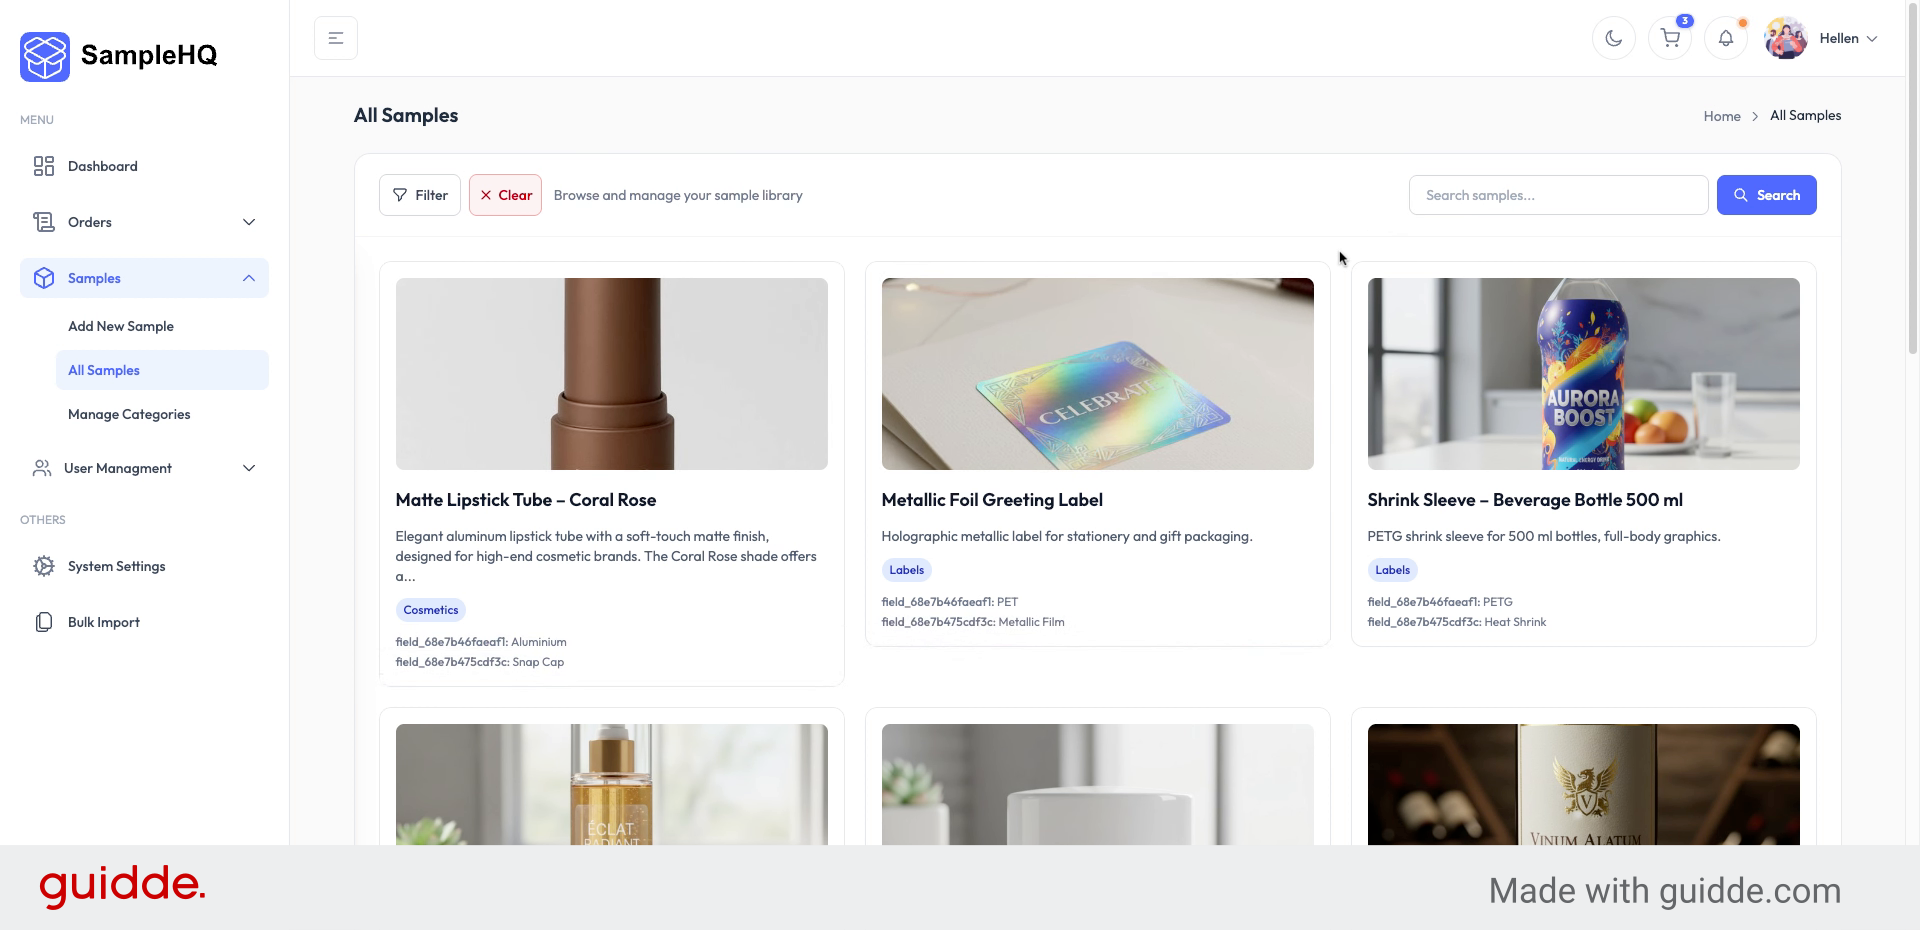
2. Enter Category Labels
From the All Samples page, click the Filter button. You’ll see all available categories and a Quick Search field that helps you quickly find the one you need.
-
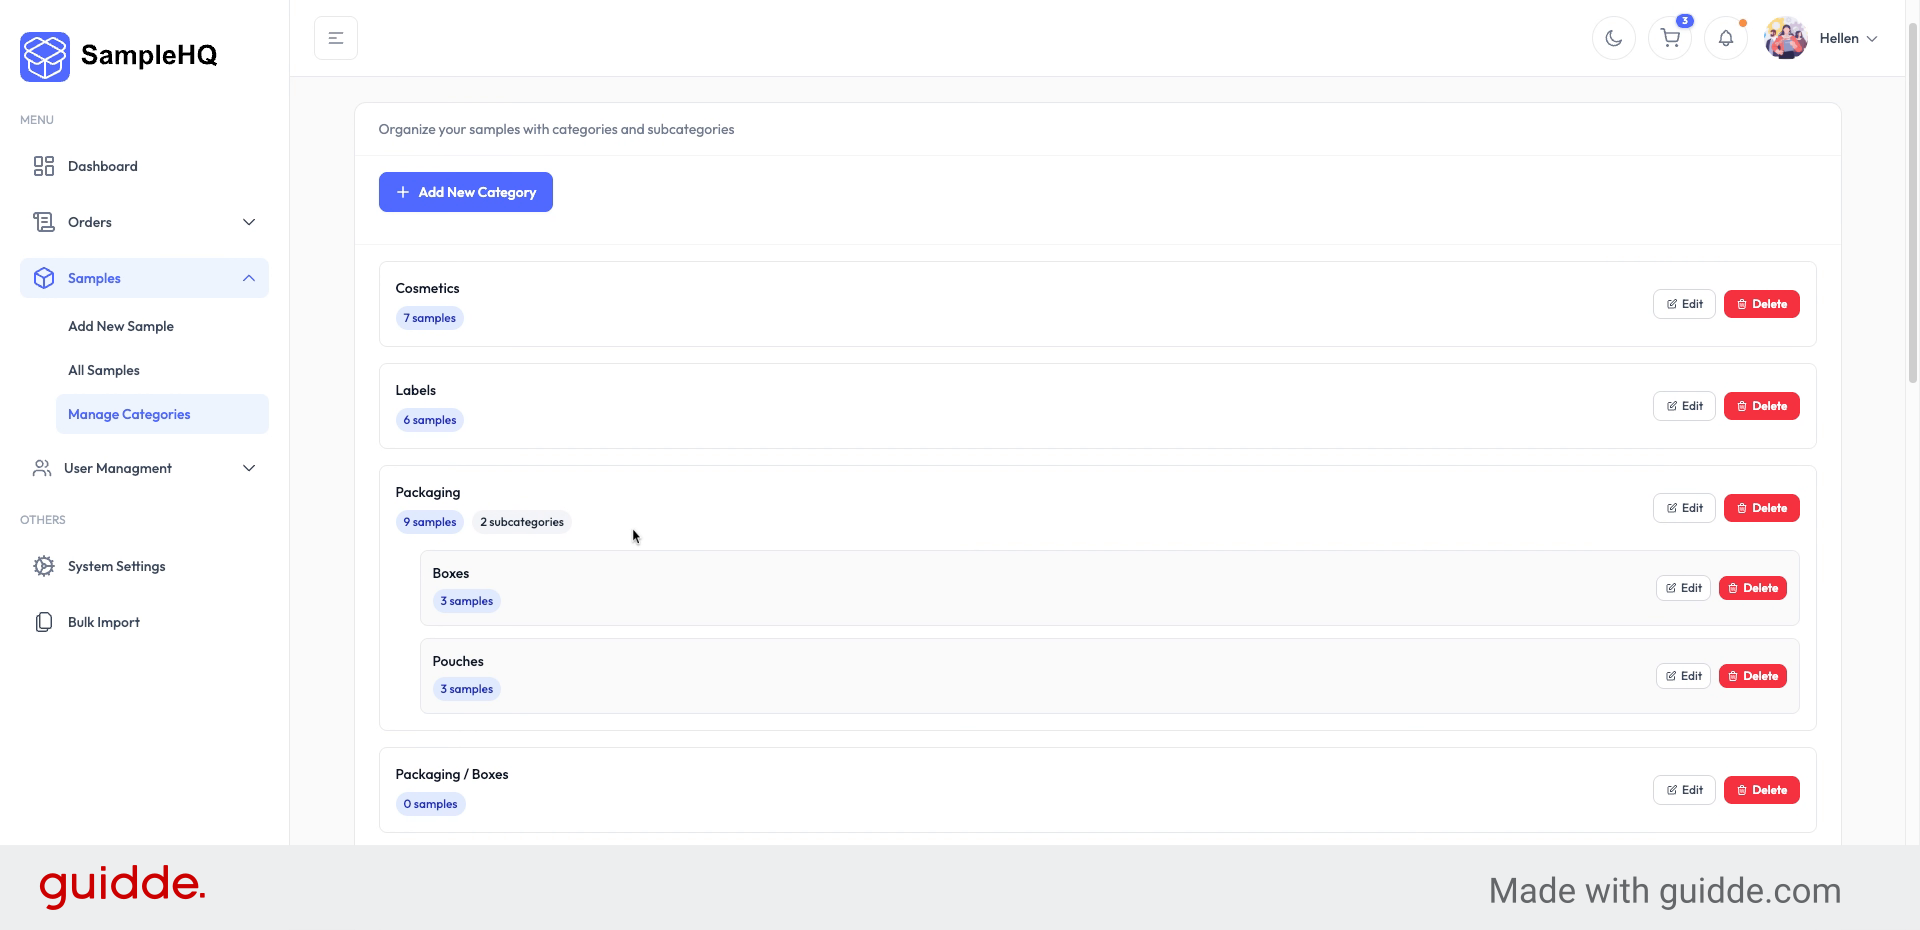
3. Navigate to Manage Categories
To add, edit, or delete categories, go to the Manage Categories link in Samples.
-
4. Review Predefined Categories
Here you can see a list of predefined categories available for use, which you can edit or delete as needed.
-
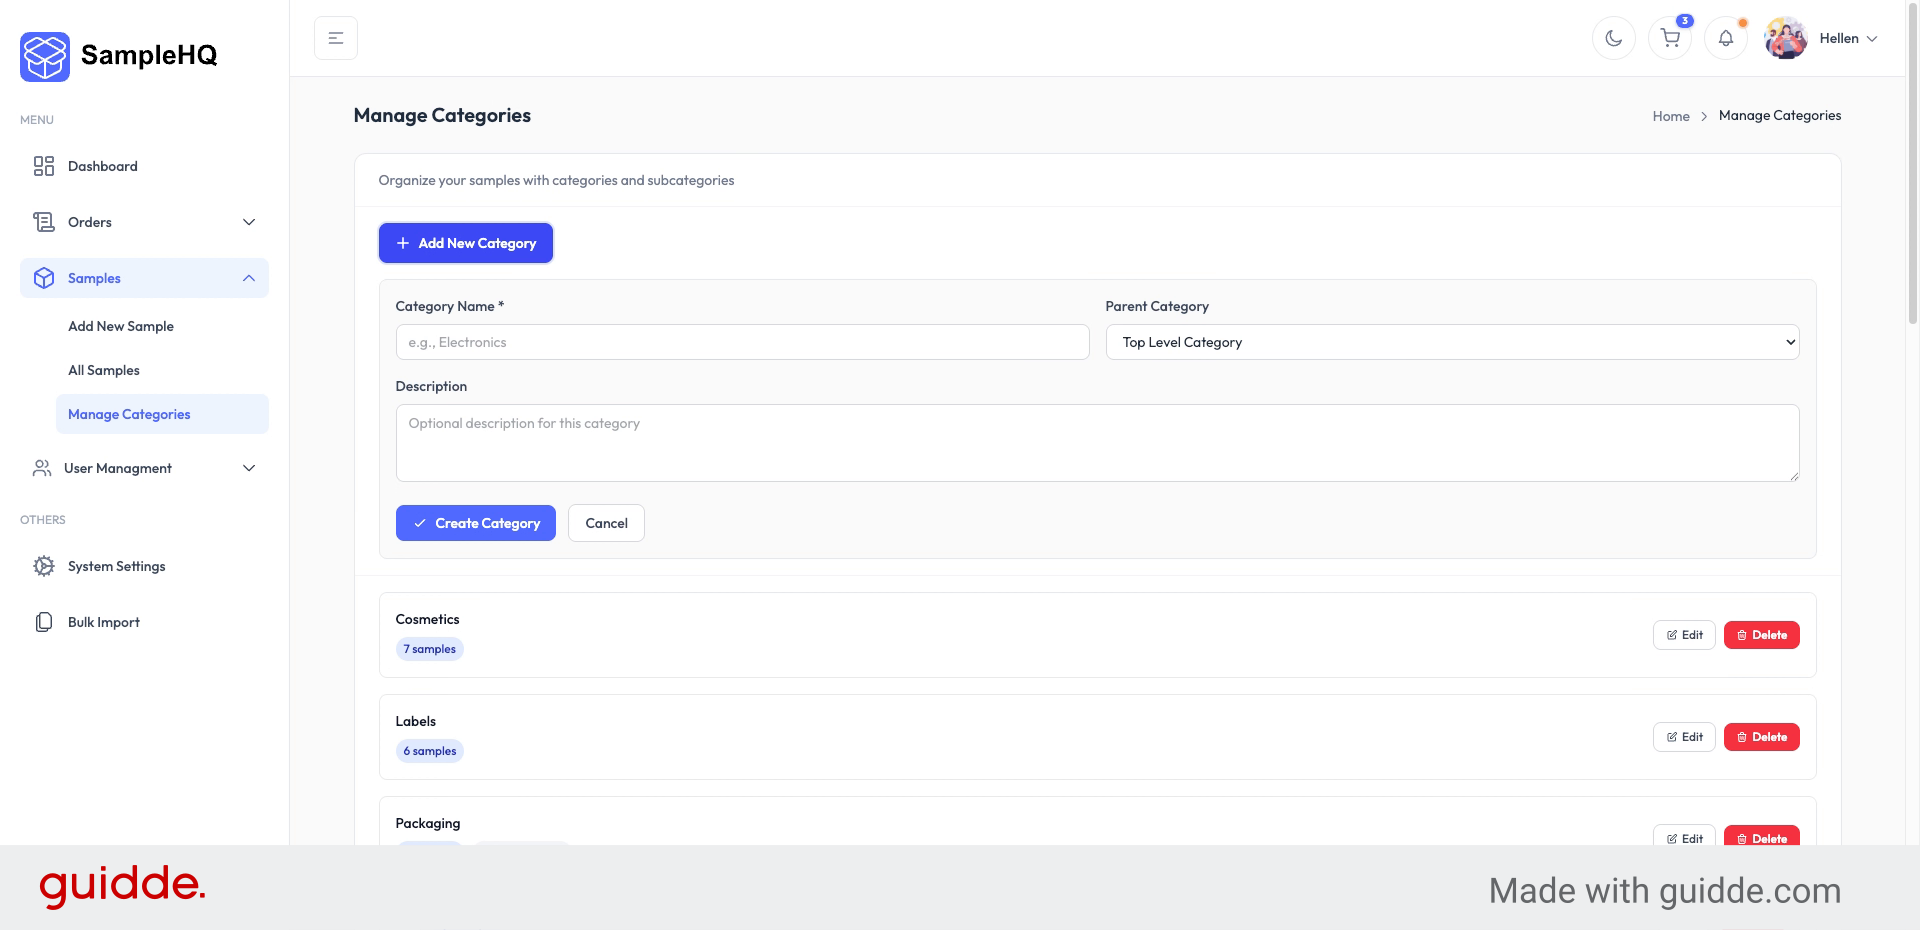
5. Add Custom Category
Add your own categories that best fit your sales or product packaging needs.
-
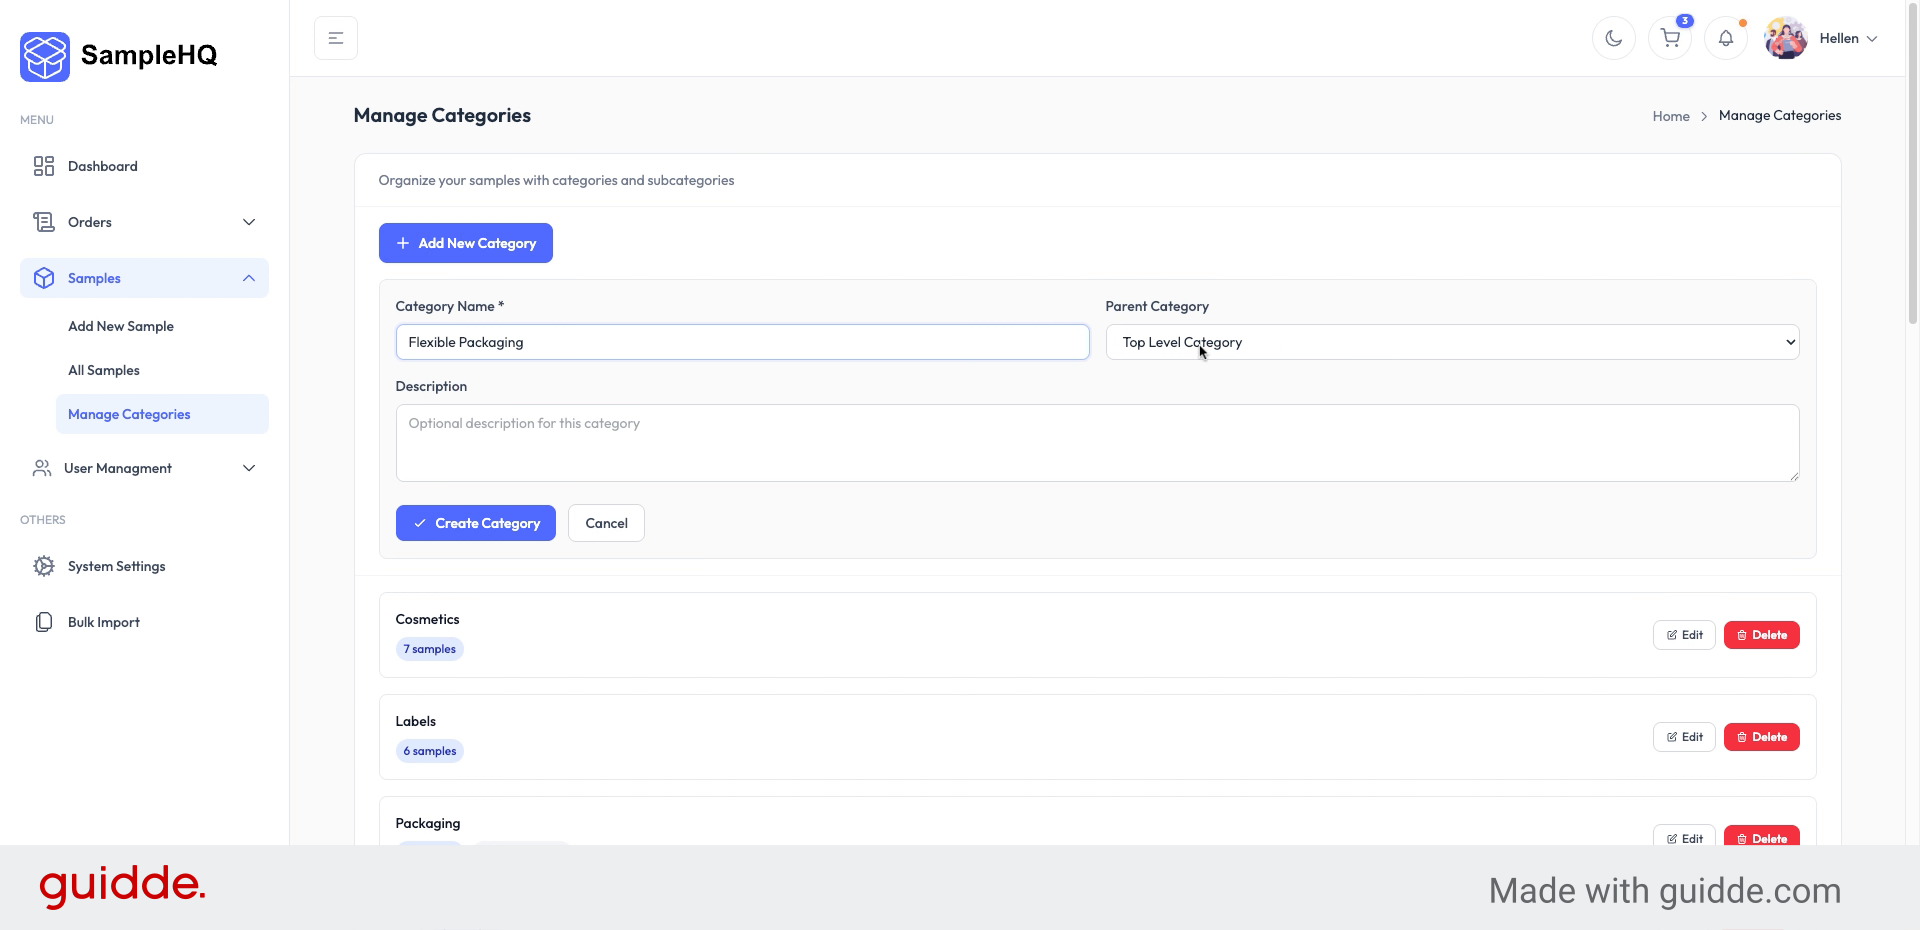
6. Define Top-Level Category
Define a category as a top-level category, allowing you to add subcategories under it.
-
7. Create Subcategory
Add a subcategory to the top-level category to organize items more specifically.
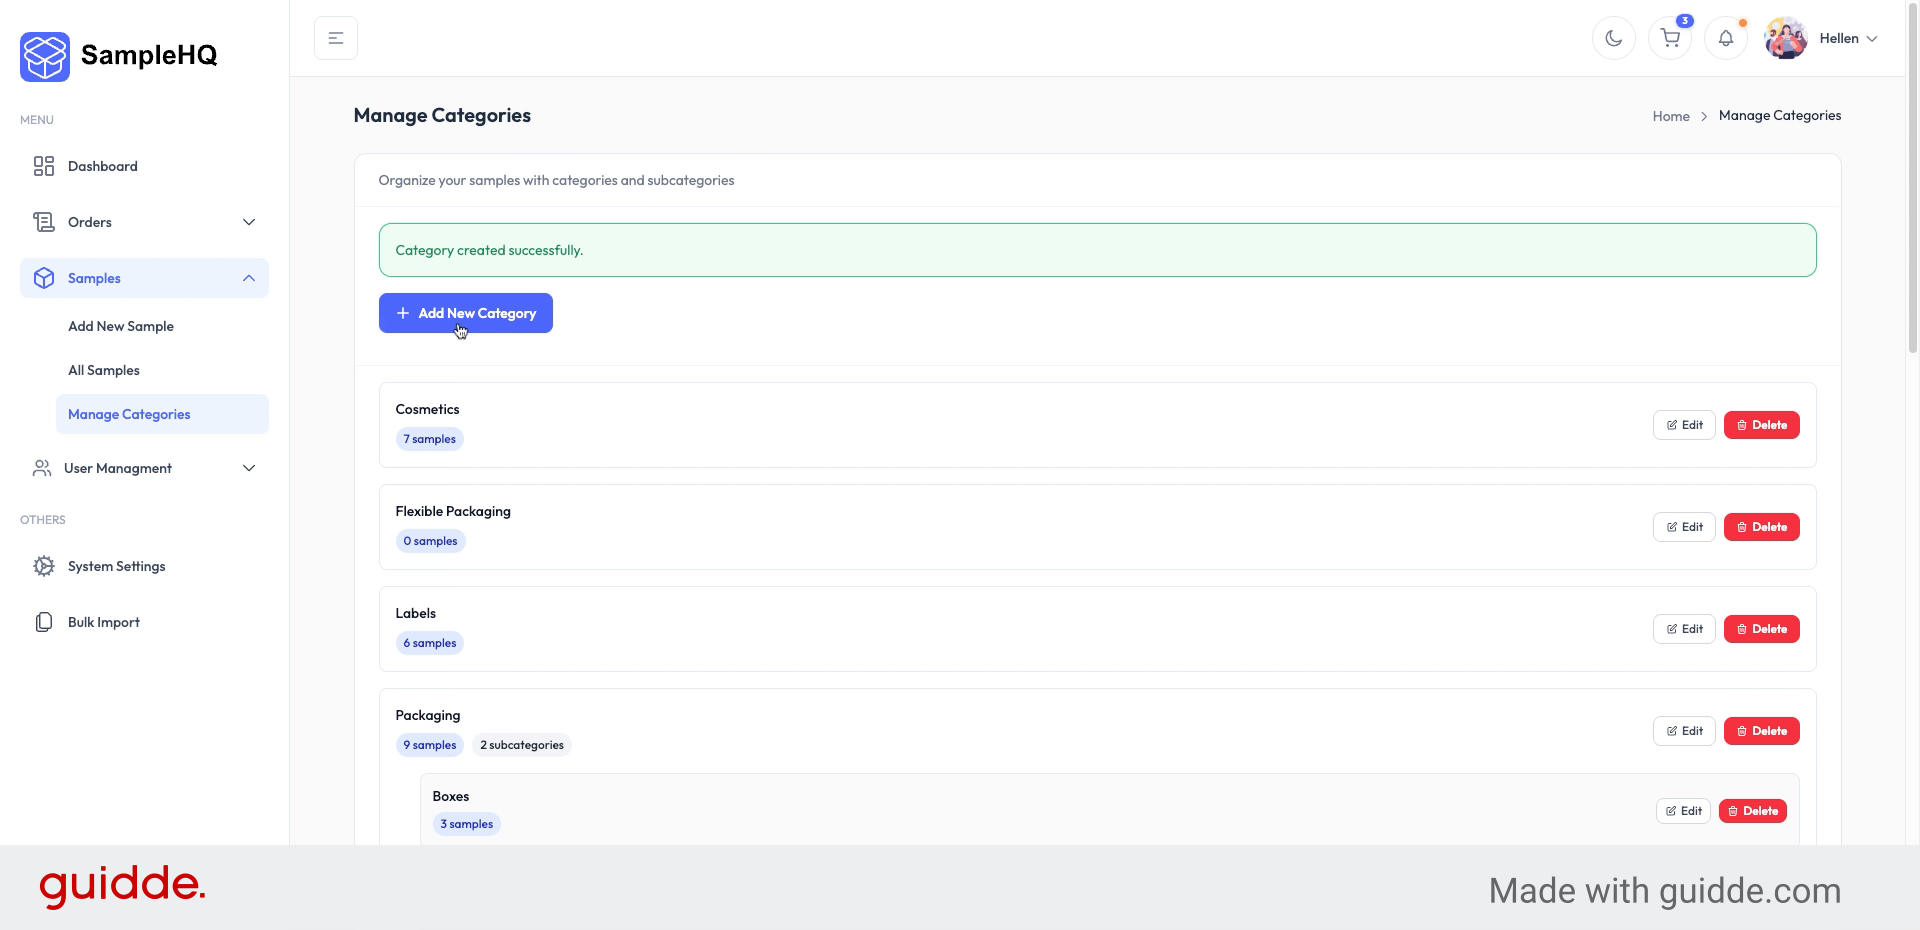
You have successfully managed sample categories by searching, adding, editing, and organizing them with subcategories. This helps maintain an organized sample library for your team.


