This tutorial guides you through adding and editing samples in Sample HQ. You will learn how to create a new sample, and update existing samples efficiently.
-
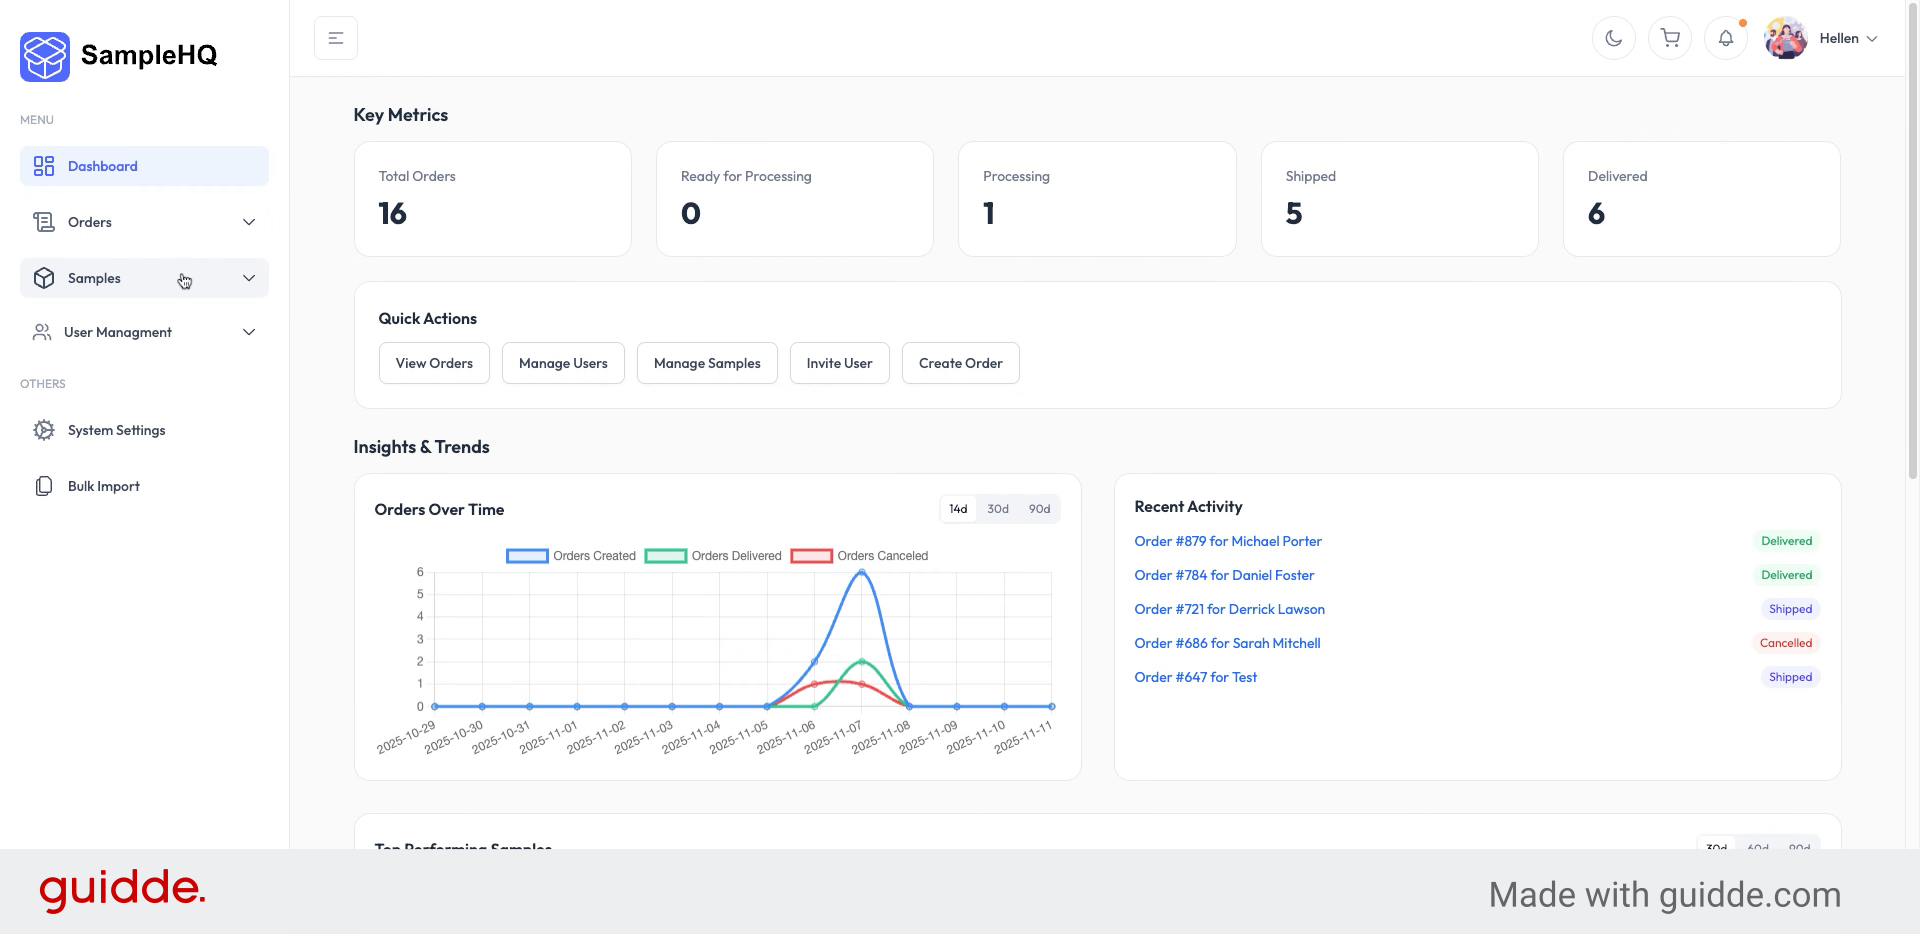
1. Access Samples Menu
On your Dashboard, click the Samples menu, then if you are the workspace owner or manager, you will be able to see and select the Add New Sample button to create a new sample.
-
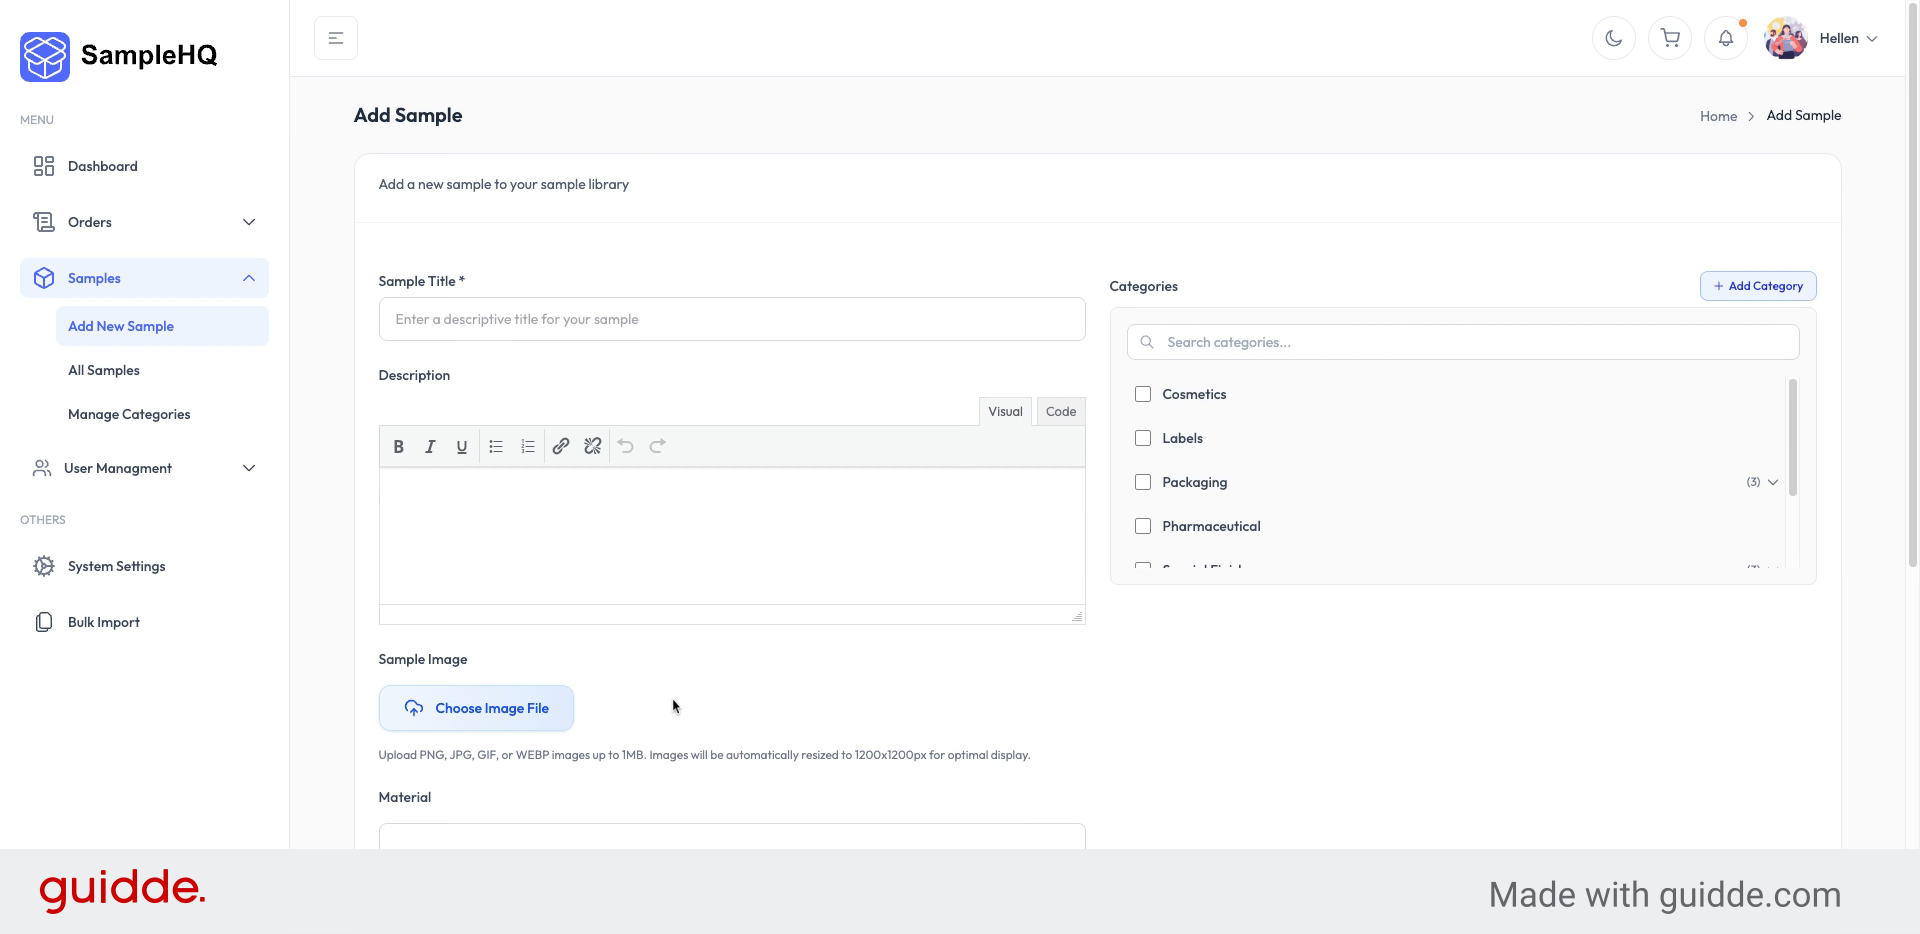
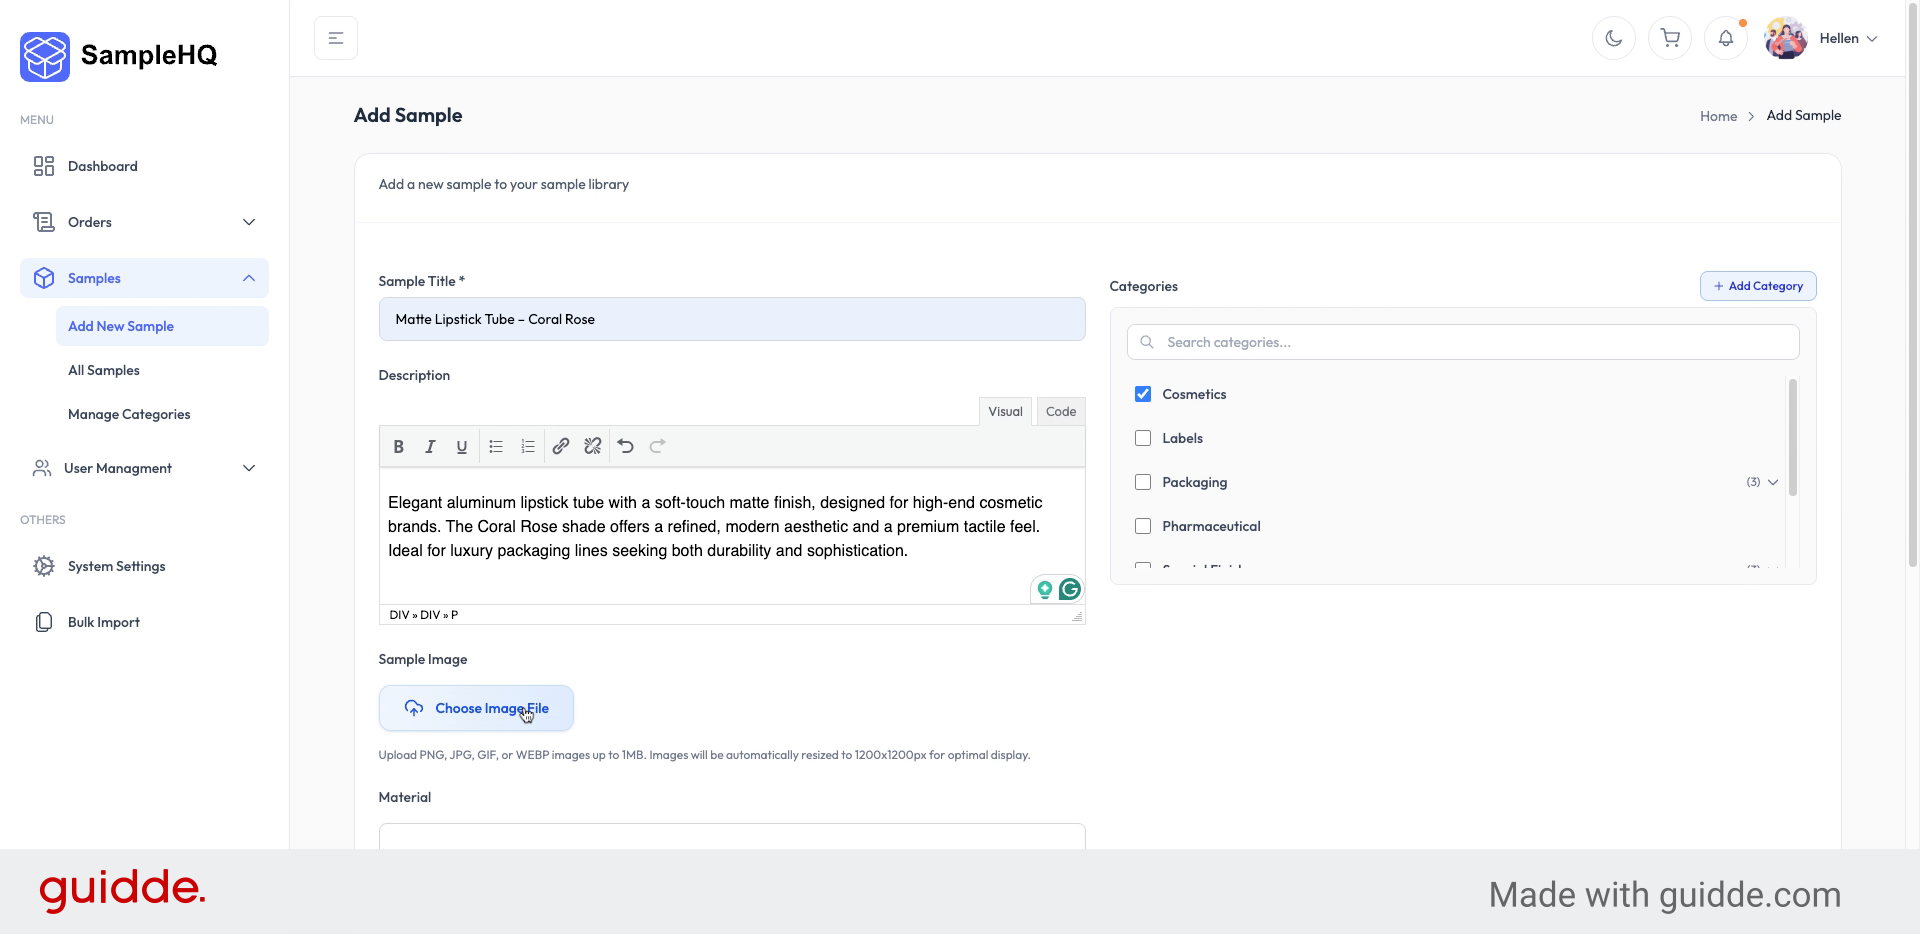
2. View Add New Sample Screen
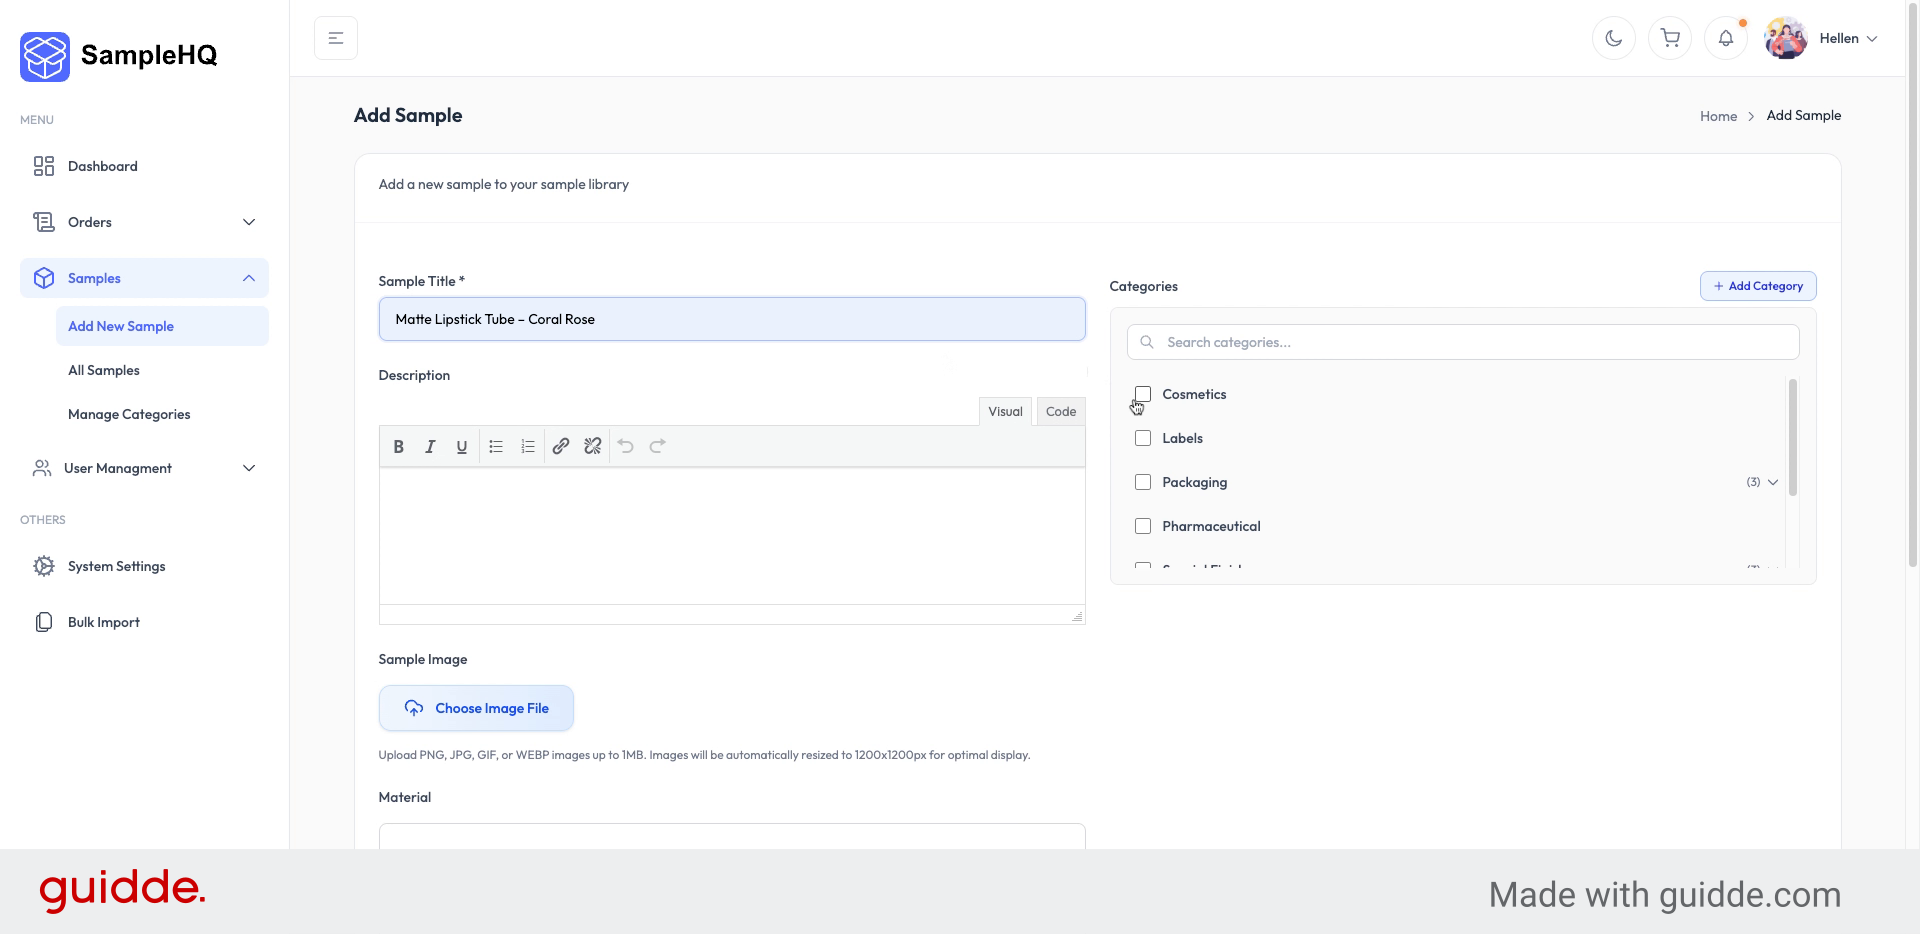
Here you will see the Add New Sample screen. First, enter the sample title to identify your new sample.
-
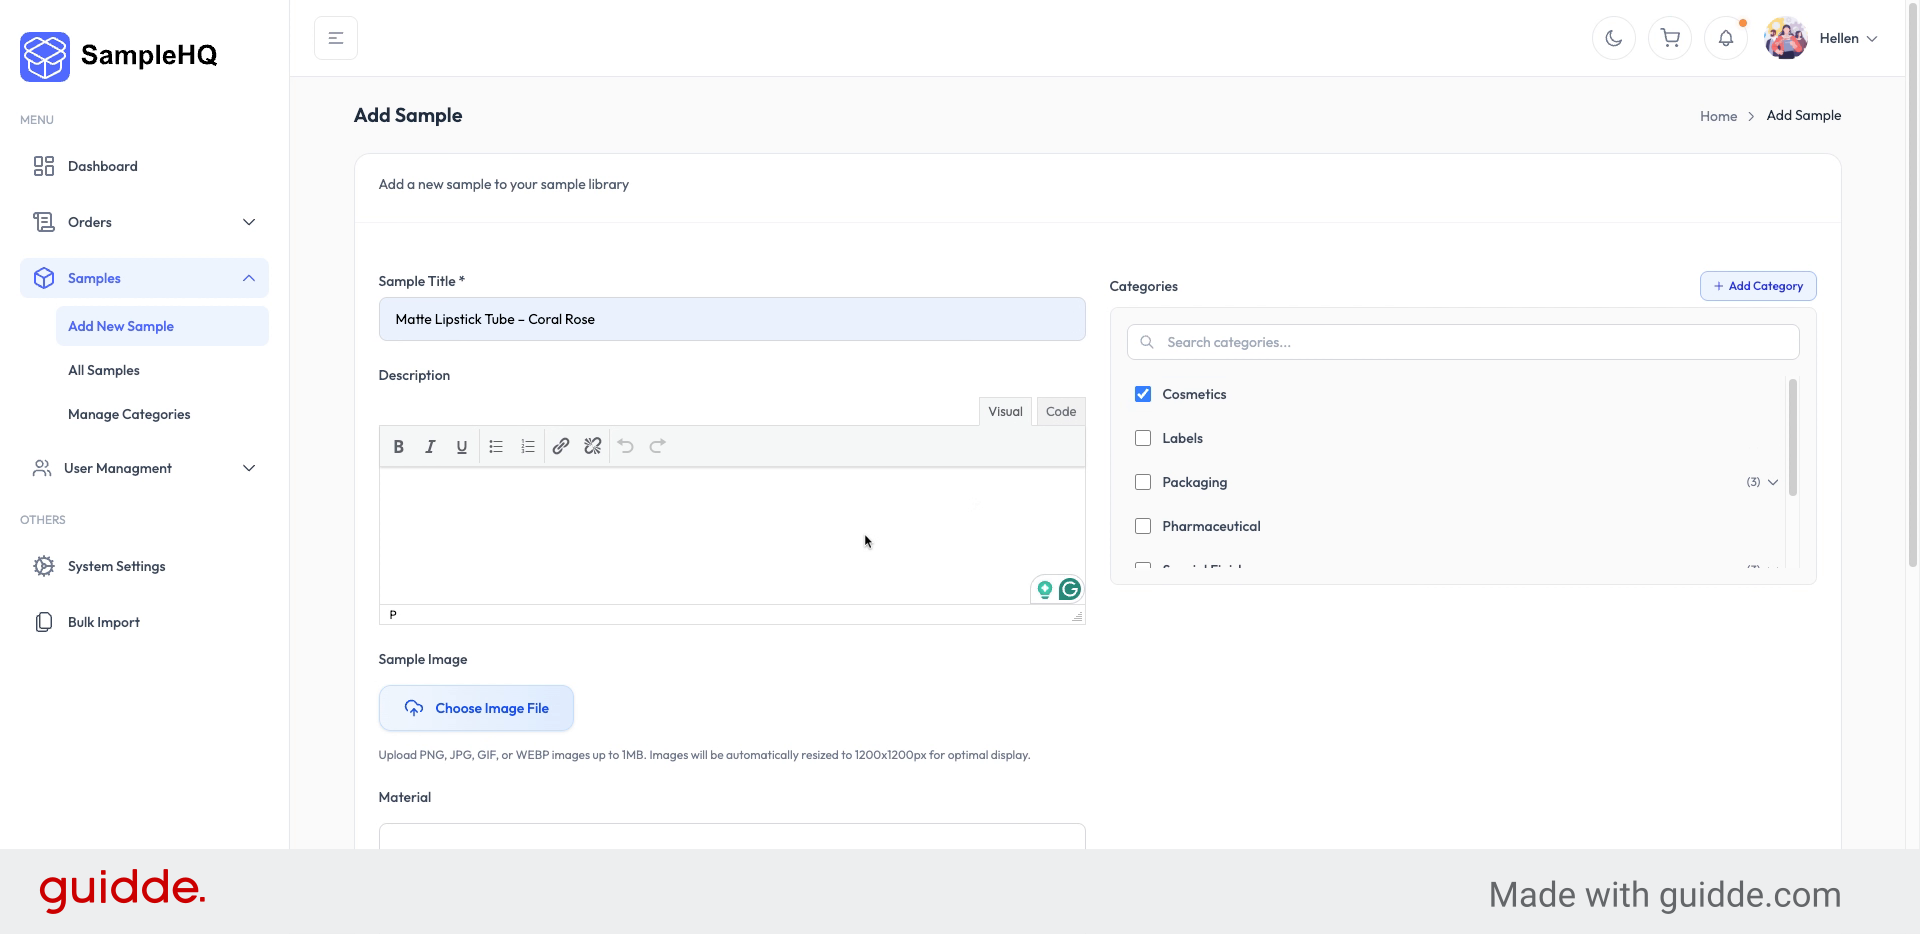
3. Select Sample Category
Next, choose the category to which the sample belongs, to organize it appropriately.
-
4. Add Sample Description
Add a detailed description to provide more information about the sample’s features and purpose.
-
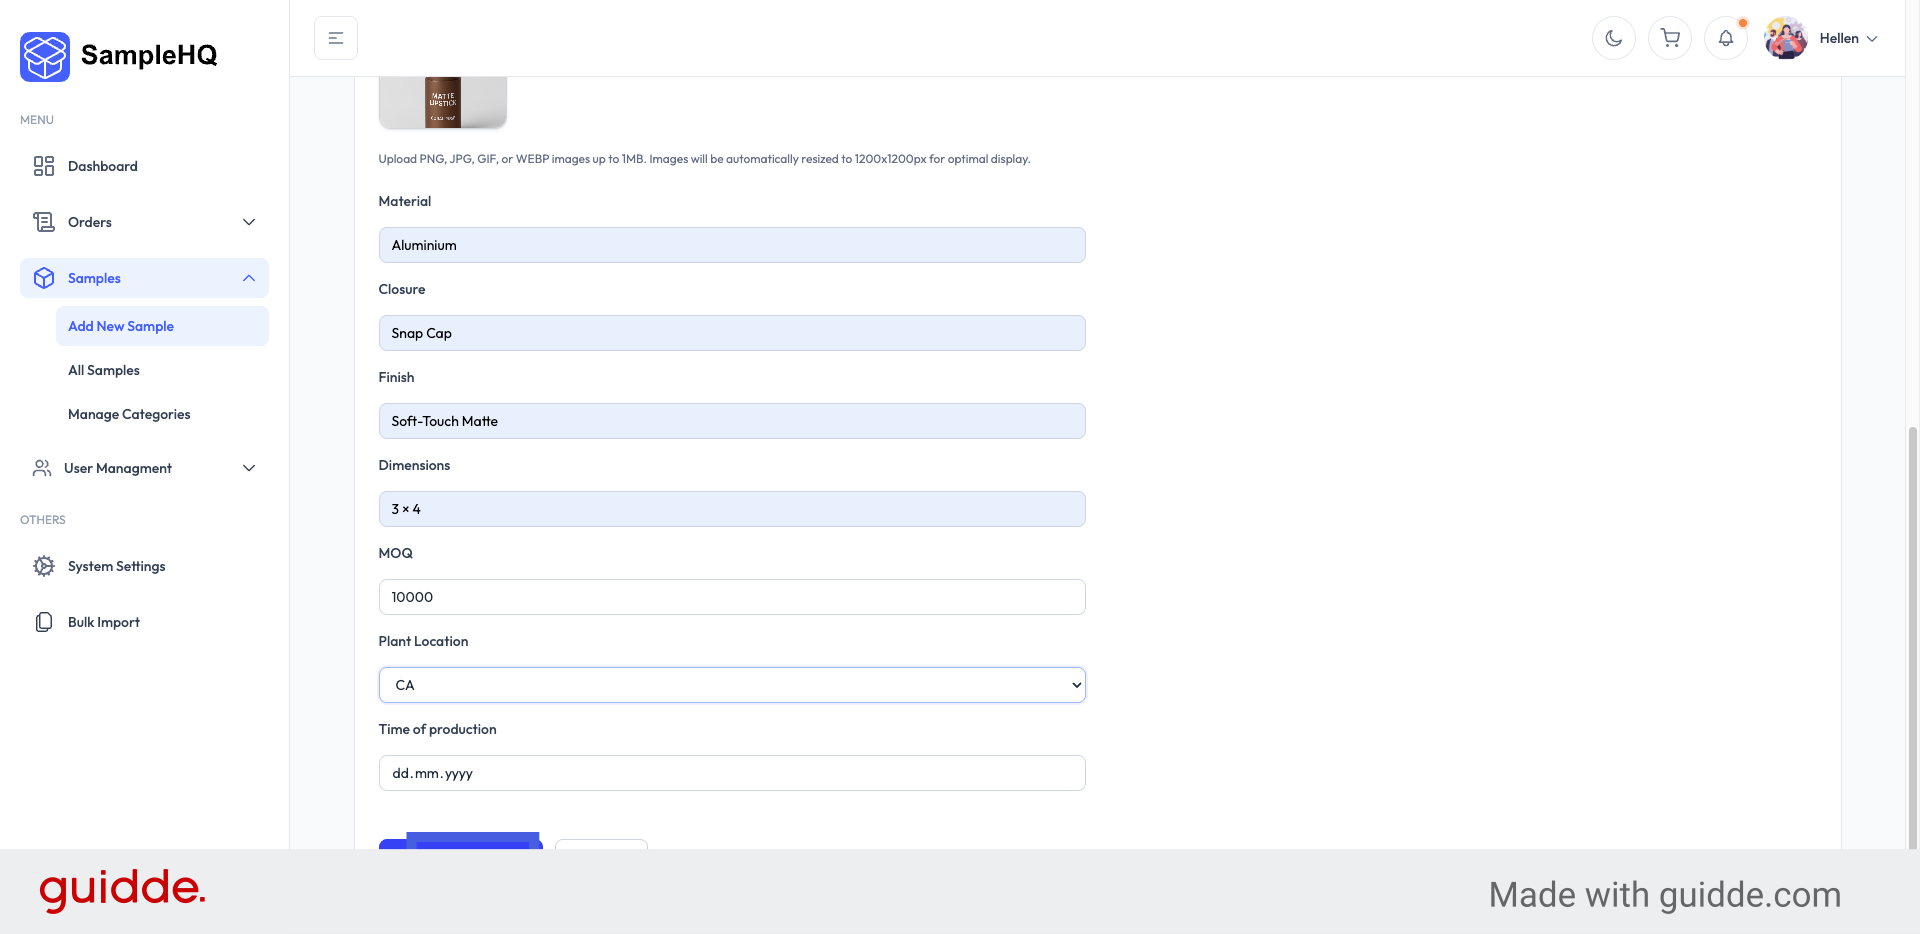
5. Include Related Sample Details
Add an image for the sample and include all other related details to complete the sample profile.
-
6. Create New Sample
When you are done, click the Create Sample button to save your new sample and add it to your sample library.
-
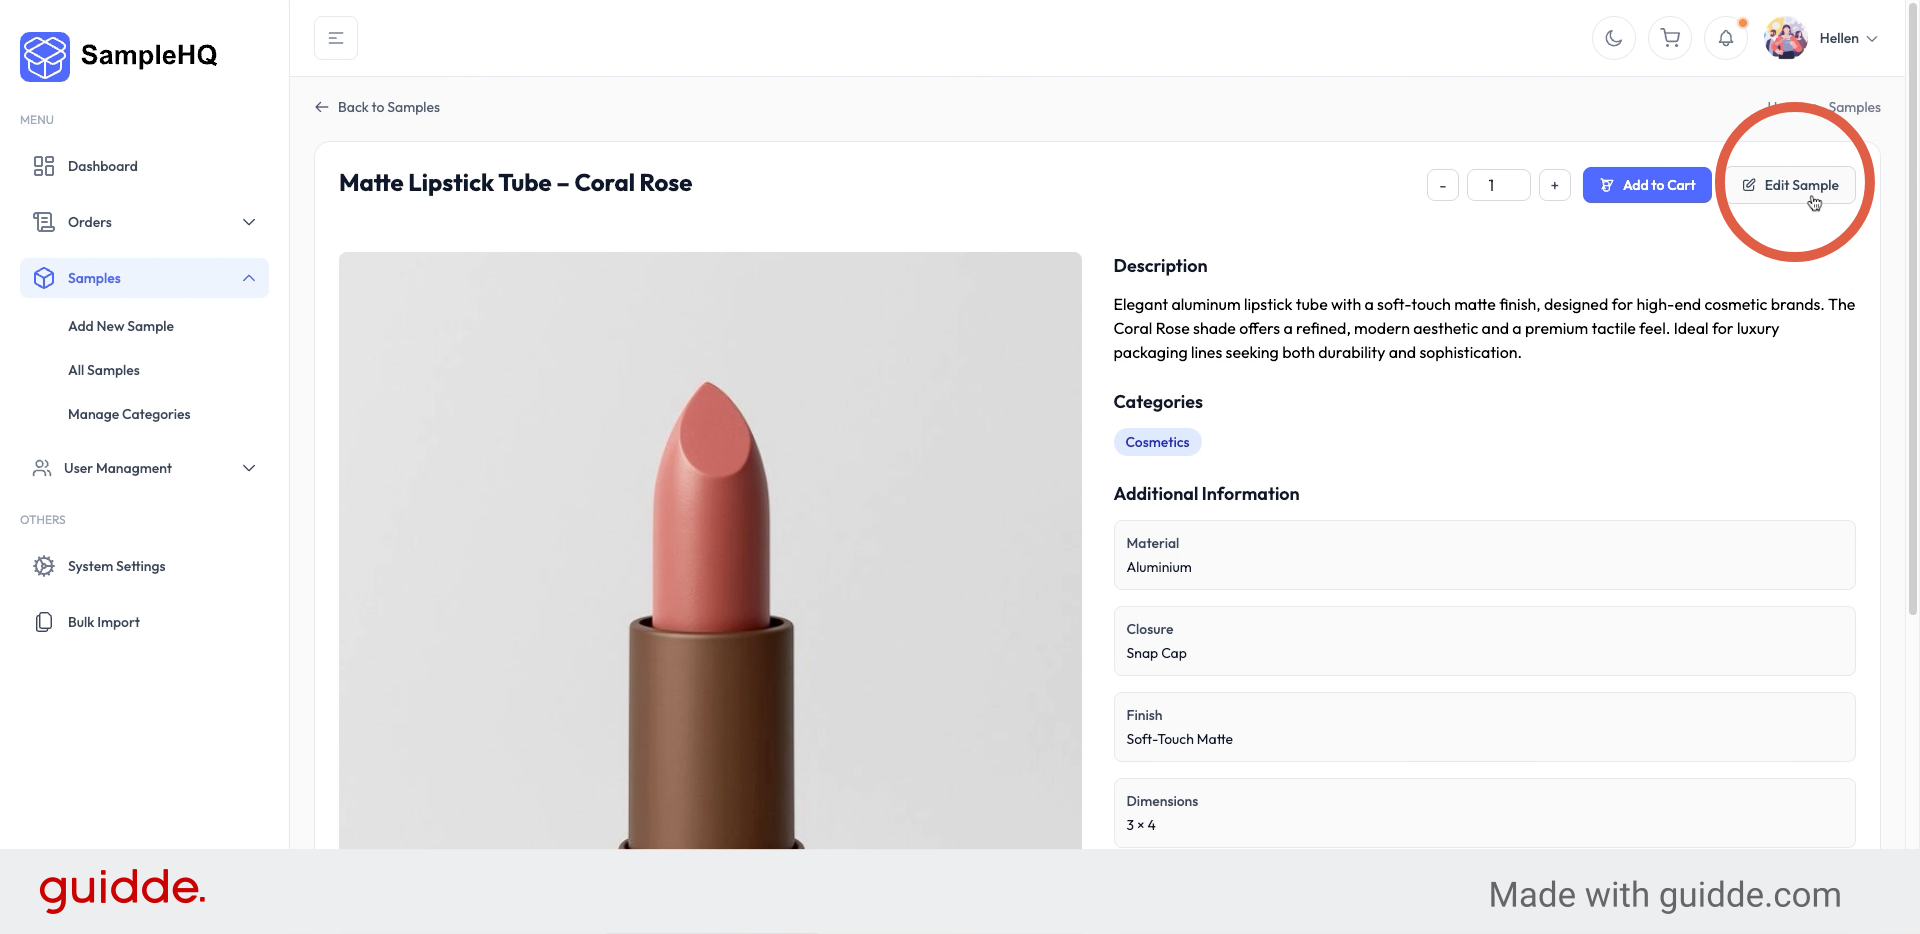
7. Confirm Sample Creation
Now, your new sample is created. You can now view it with all its details.
-
8. Edit Existing Sample
To make changes, click Edit Sample in the upper right corner, update the necessary information, and save your edits.
You have successfully added and edited samples by entering details, selecting categories, and updating information.


