This tutorial explains what types of information you can have for each sample in Sample HQ. It helps you understand how to organize and customize sample data effectively.
-
1. Overview of Sample Information Types
Let’s take a look at what type of information you can store for each sample in Sample HQ.
-
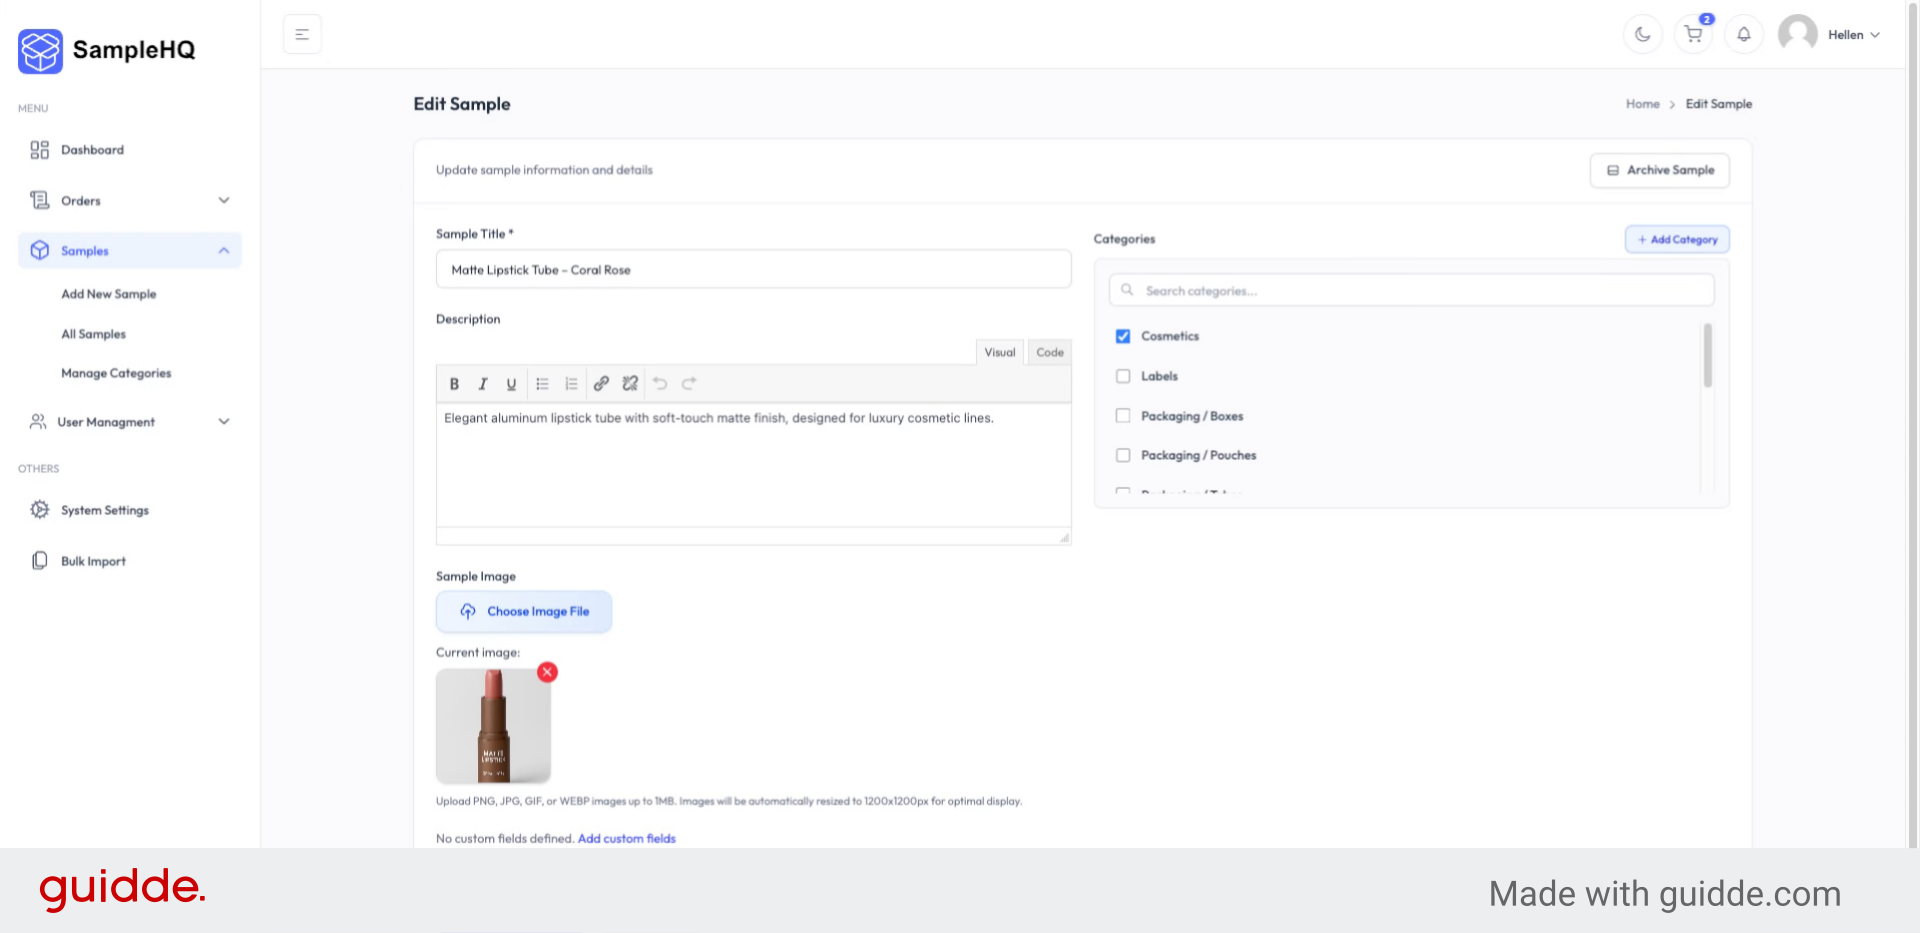
2. Understand Essential Product Details
Every sample record includes all the essential product details your team needs to manage and work samples. We start with the basics.

-
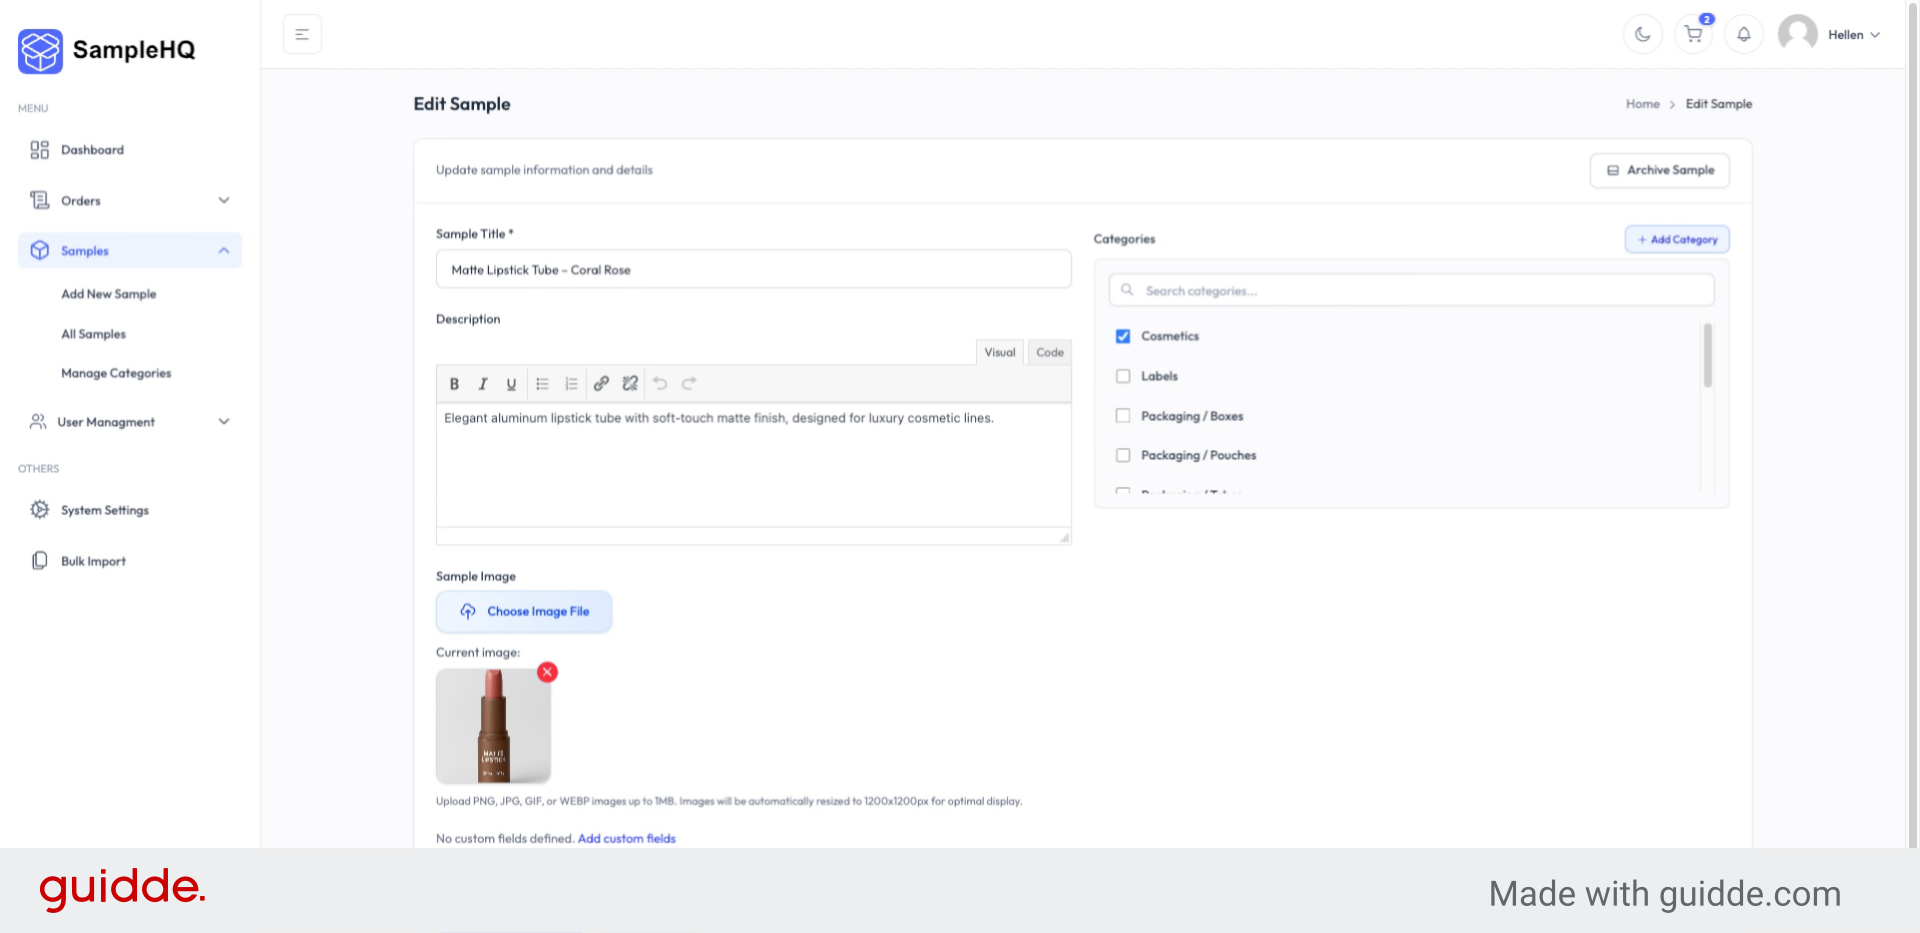
3. Identify Core Sample Fields
The sample name, category, description, and image are the core fields that will make your library organized and easier to search.

-
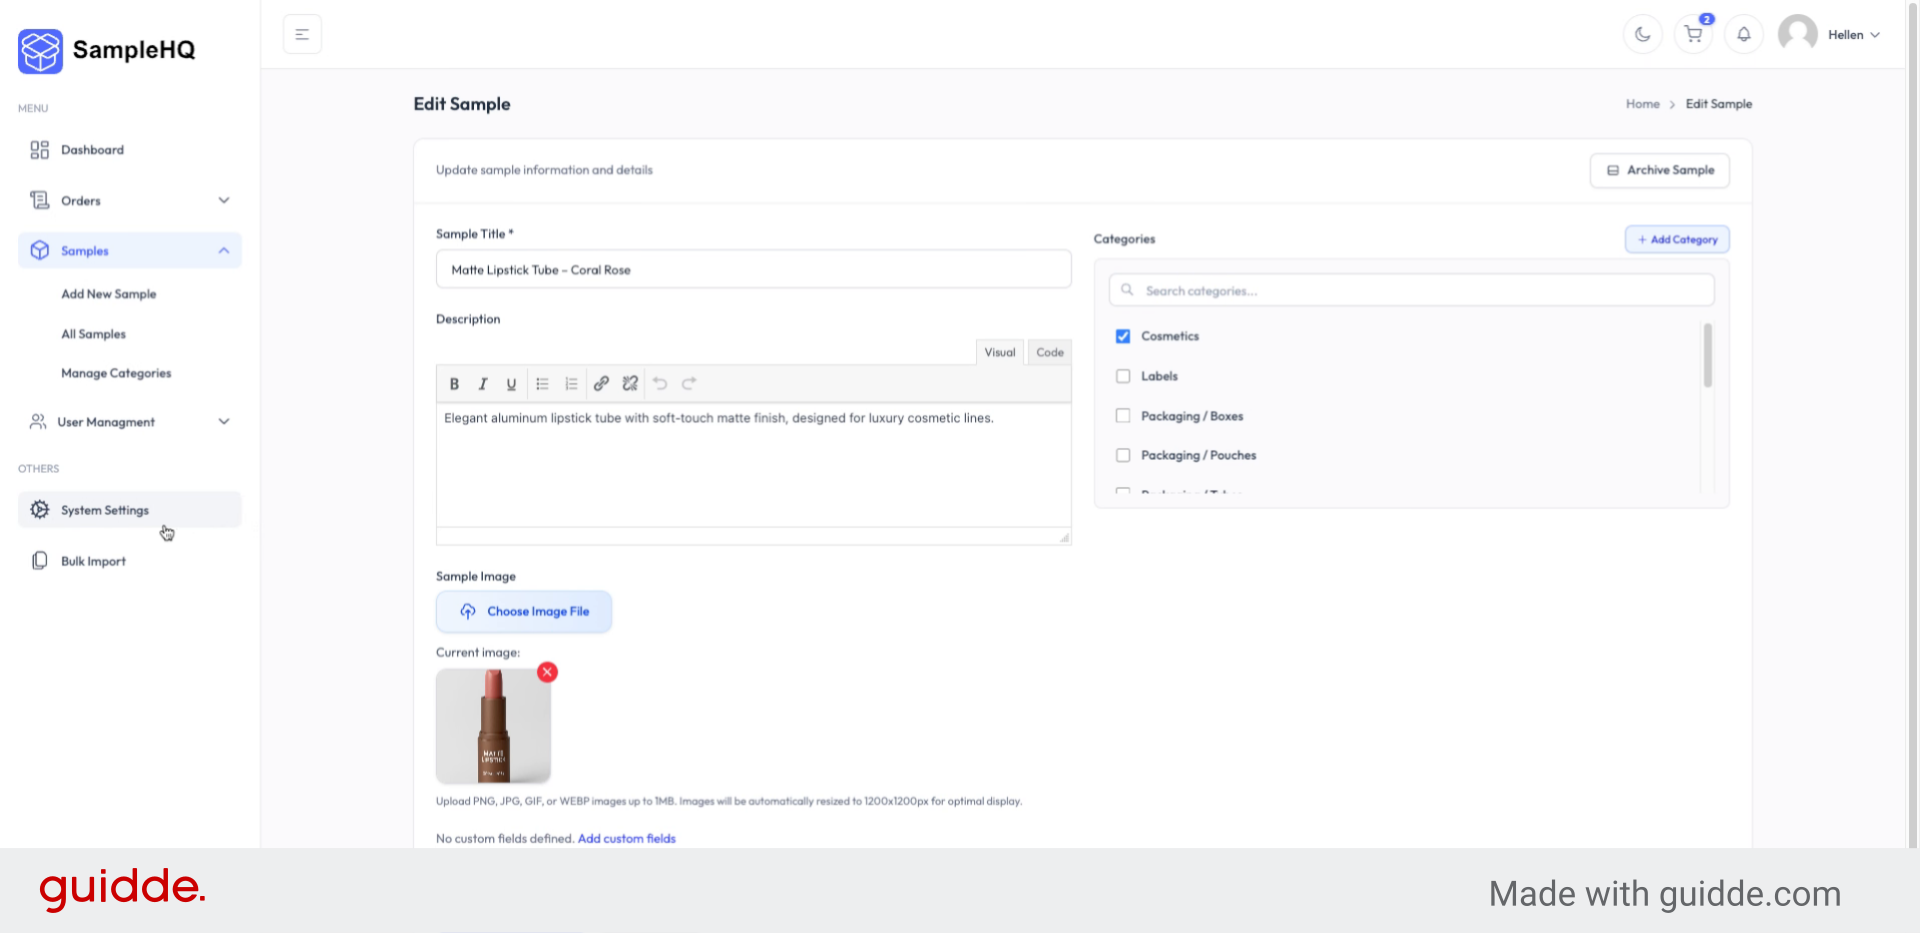
4. Customize Data Capture Options
Beyond that, you can fully customize what data you want to capture.
-
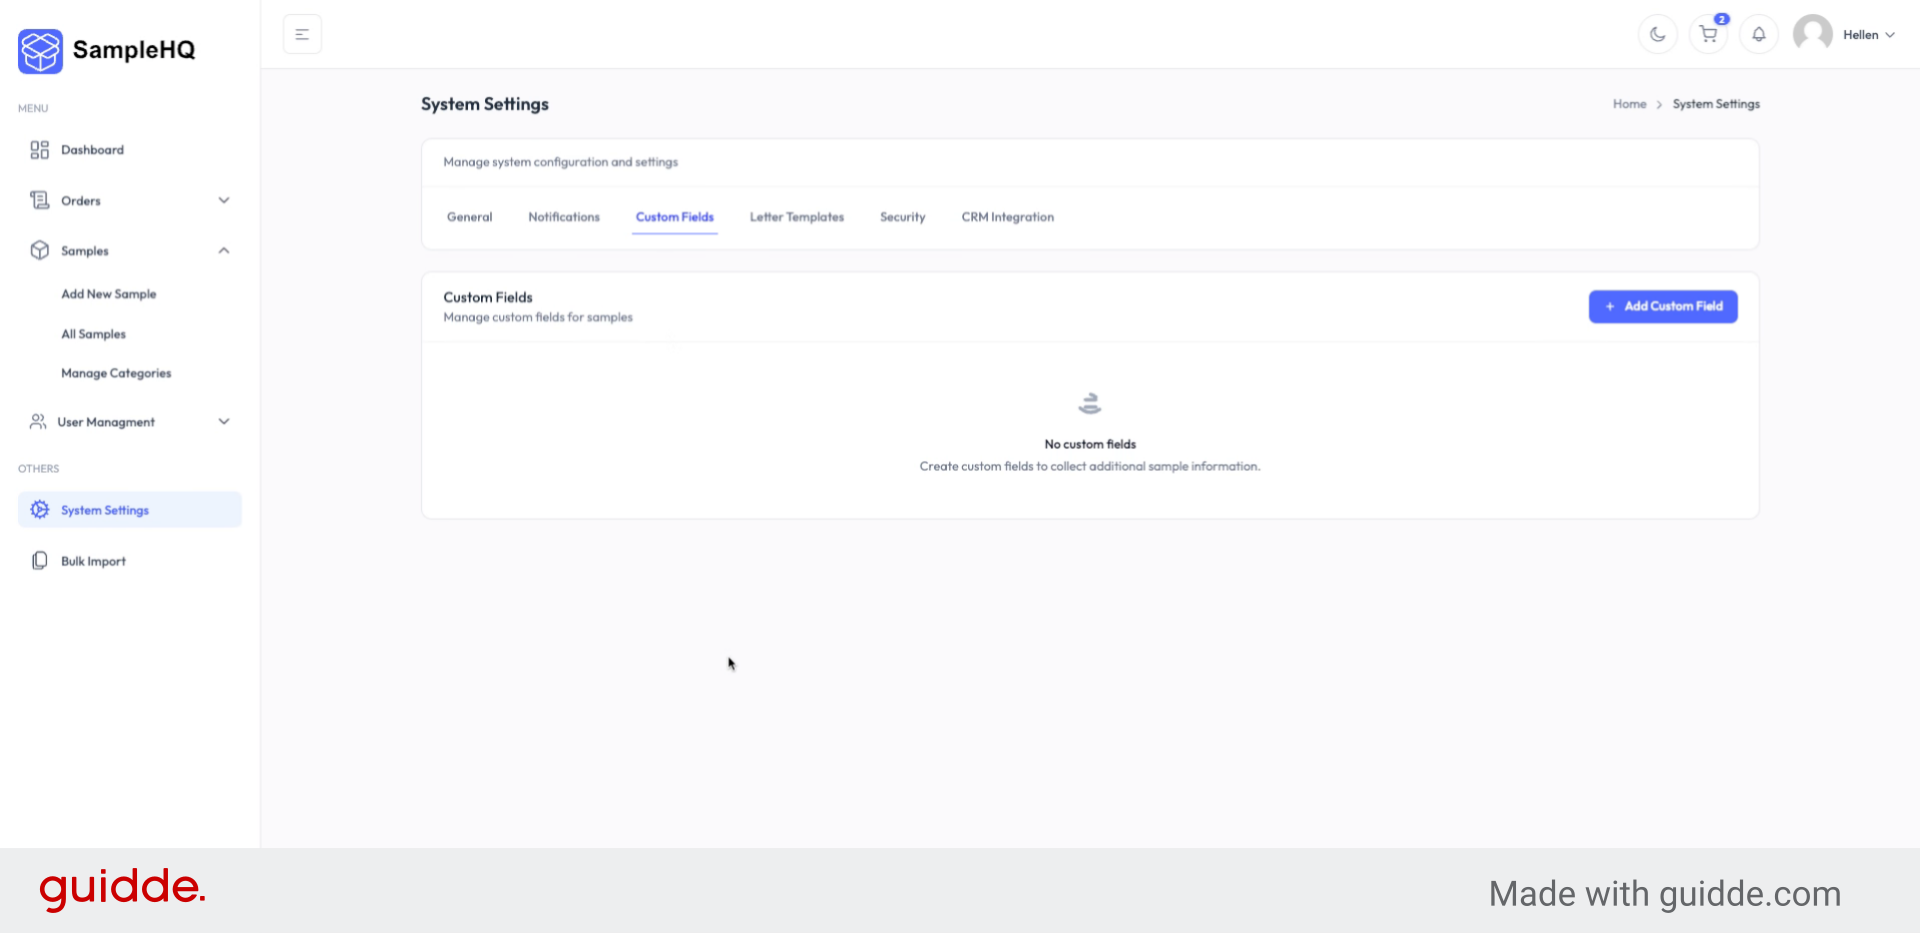
5. Access Custom Fields Settings
To do so, go to system settings where you will click custom fields.
-
6. Create Custom Fields for Samples
Here is where we can create all the custom fields that we want attached to each sample. To add a custom field, click add custom field.
-
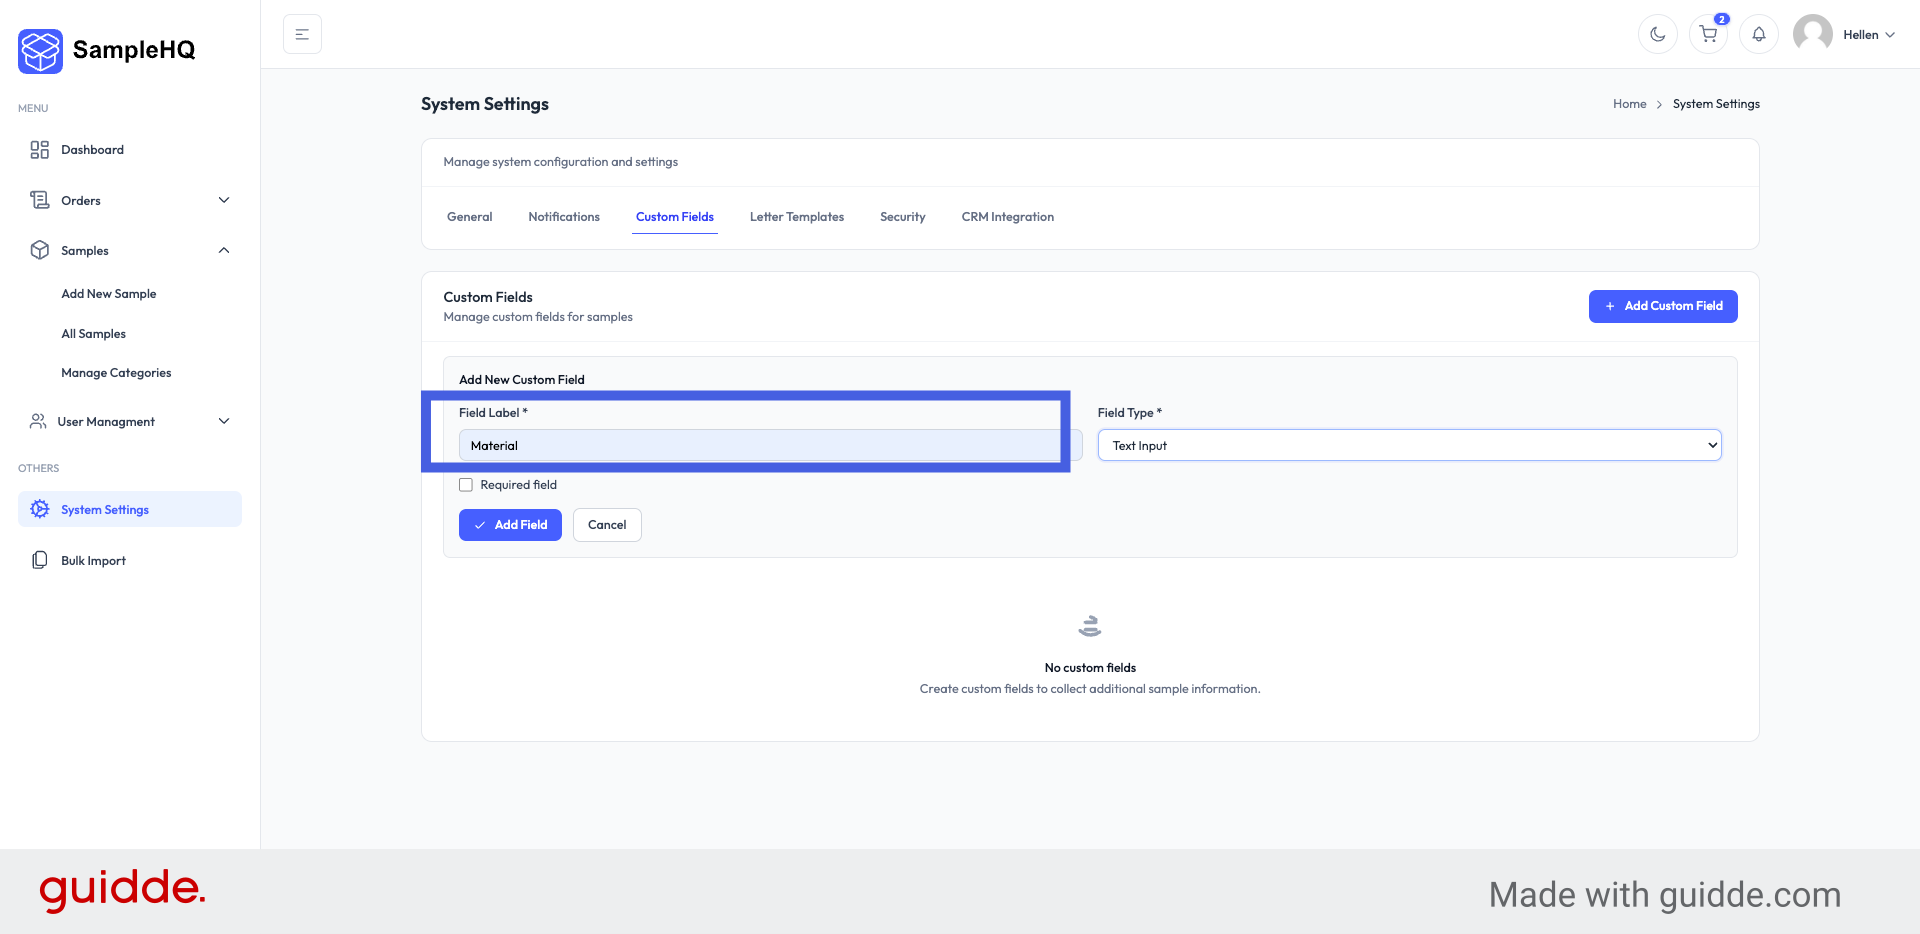
7. Select Custom Field Input Type
We first define the field label we want to use for the samples, for example, Material.
-
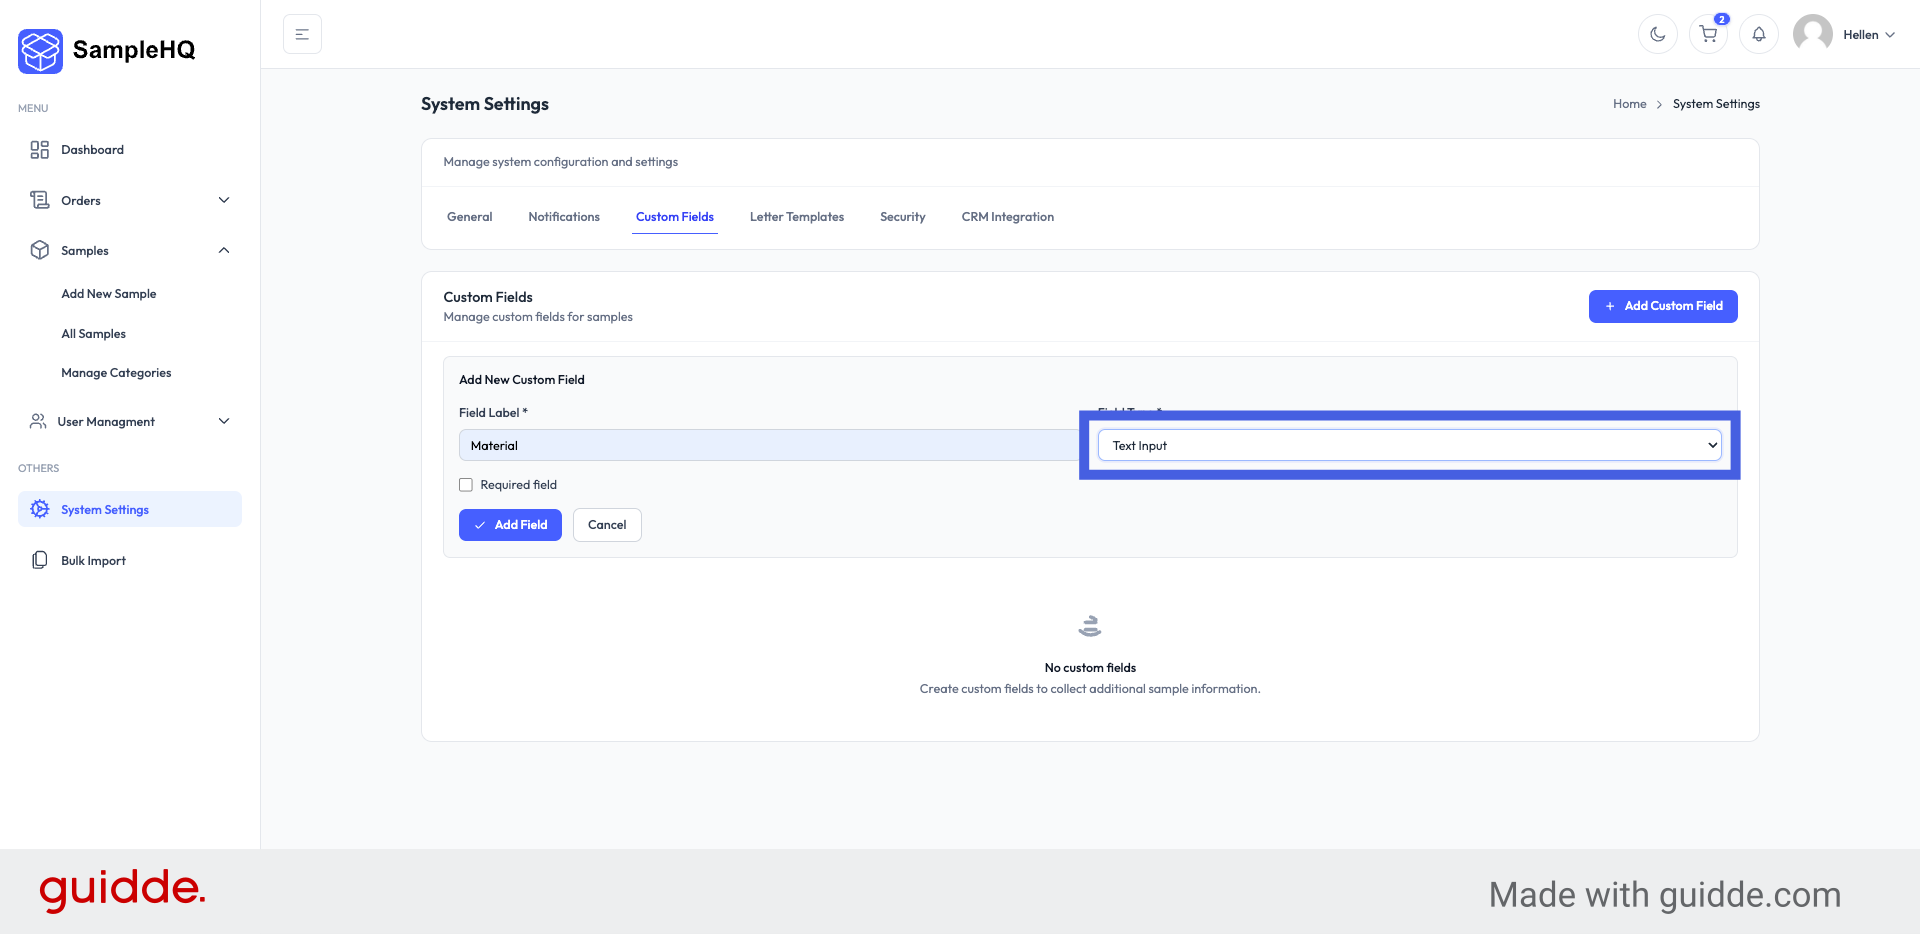
8. Select Custom Field Input Type
Then choose the type of input for the custom field, such as text input, textarea, or number.
-
9. Mark Fields as Required
In this case, let’s mark the Material field as a mandatory field for every sample that is being added.

-
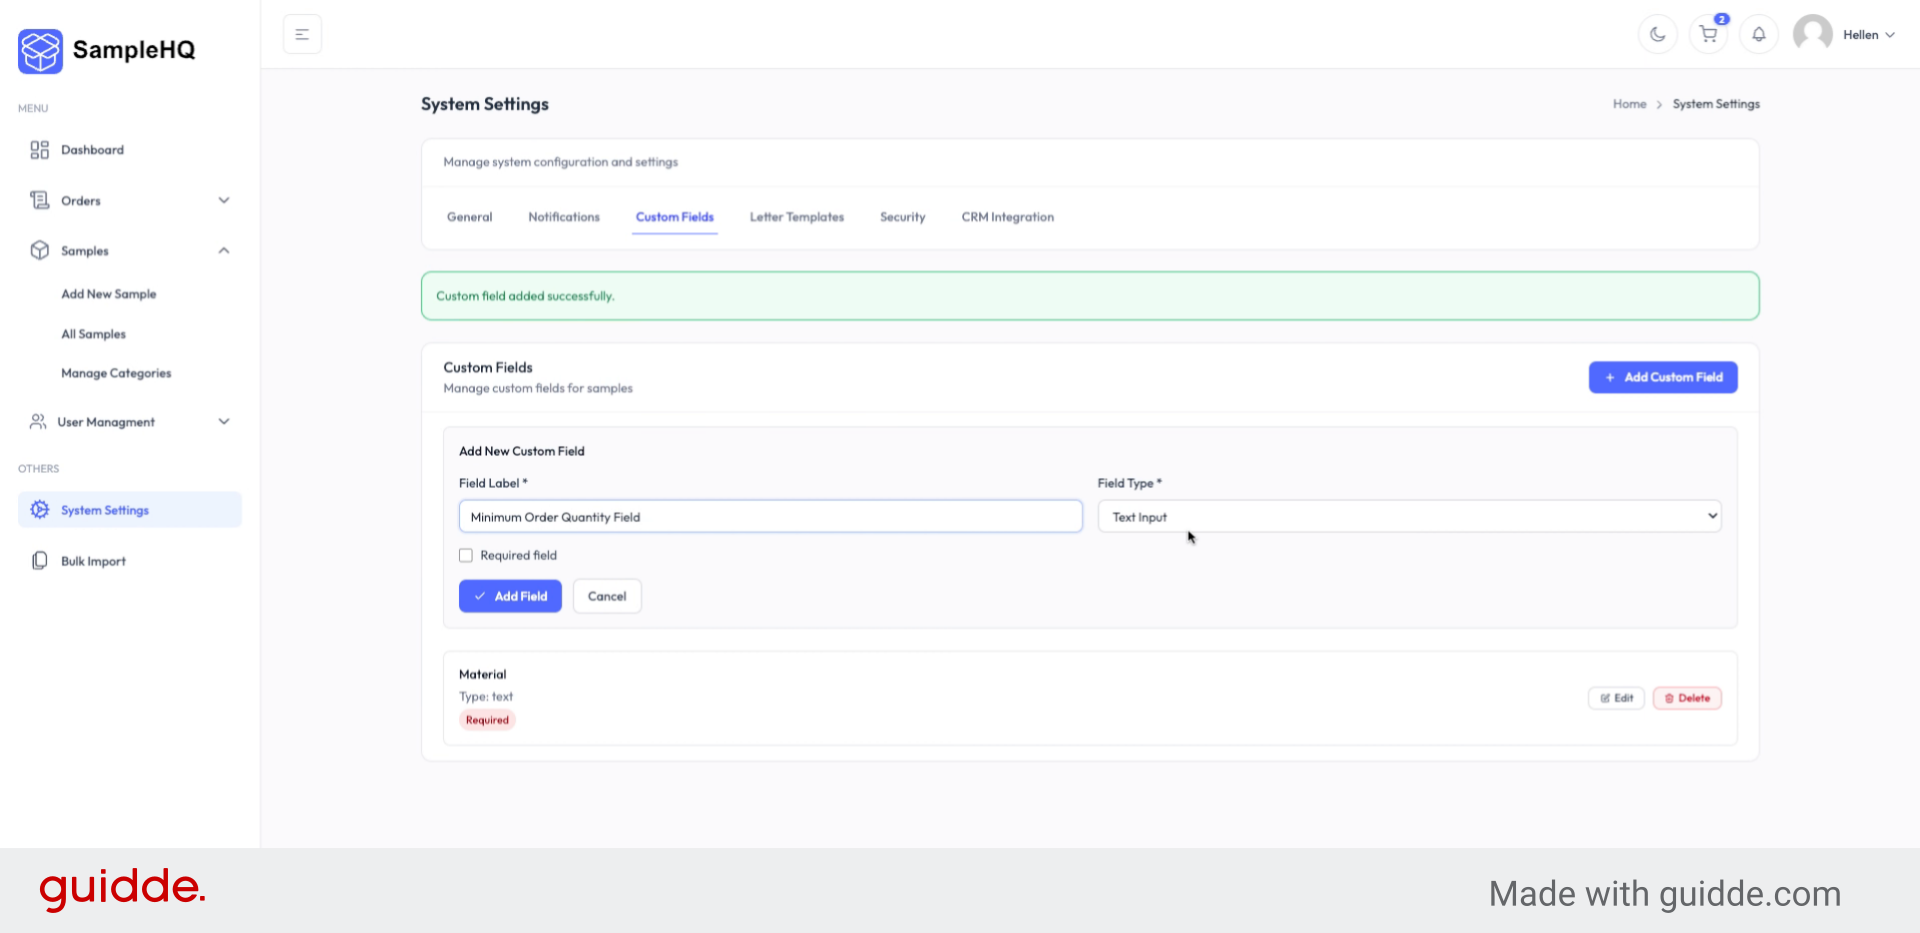
10. Add Minimum Order Quantity Field
Now, let’s add another custom field. Let’s call it minimum order quantity field.

-
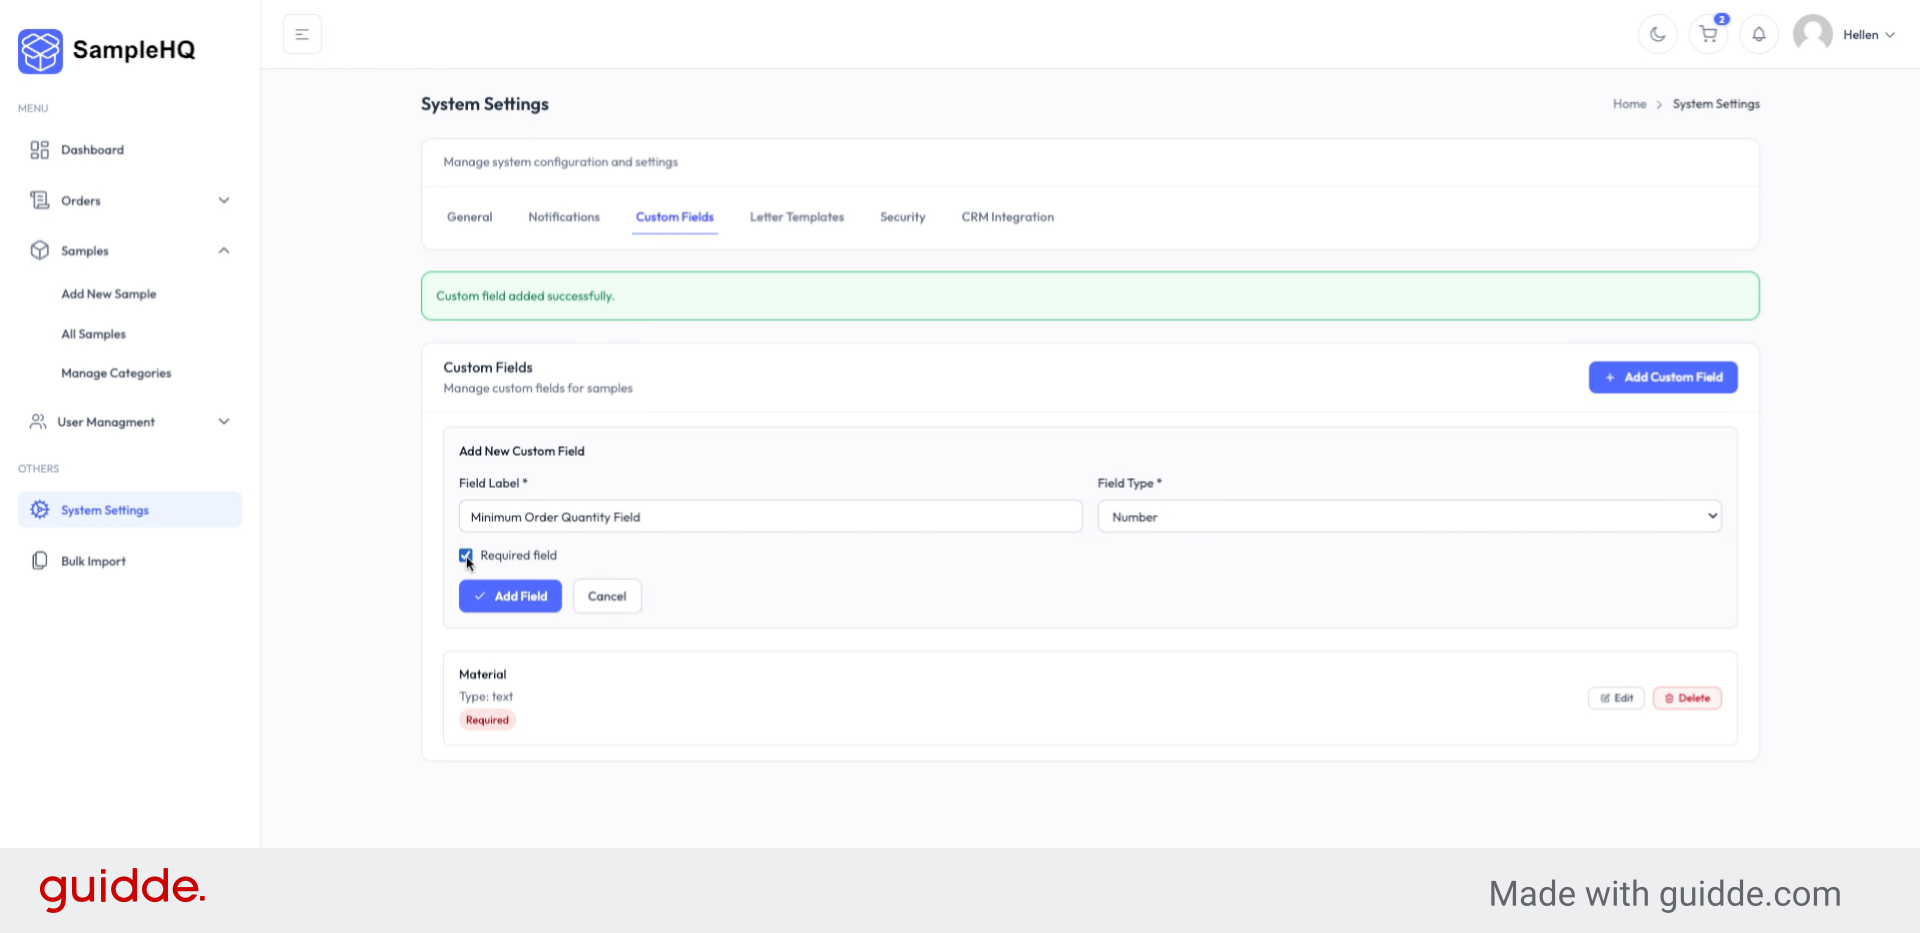
11. Set Field Type to Number
However, we will set the Minimum Order Qunatity field type as a number.
-
12. Finalize Custom Fields Setup
Let’s also make this a required field. Click the add field button, and that’s it. These two custom fields will now need to be populated each time a new sample is being added.
You’ve just learned how to customize the information stored for each sample by creating custom fields that make your sample library more organized and easier to manage.


