This tutorial shows you how to bulk import samples into your Sample HQ Library. By following these steps, you will efficiently add multiple samples at once, saving time and effort.
-
Introduce Bulk Import Feature
Let’s see how to bulk import samples into your sample HQ Library.
-
Explain Bulk Upload Benefits
If you already have your samples listed in a spreadsheet or exported from another system, you can upload them all at once. No need to add each sample manually.

-
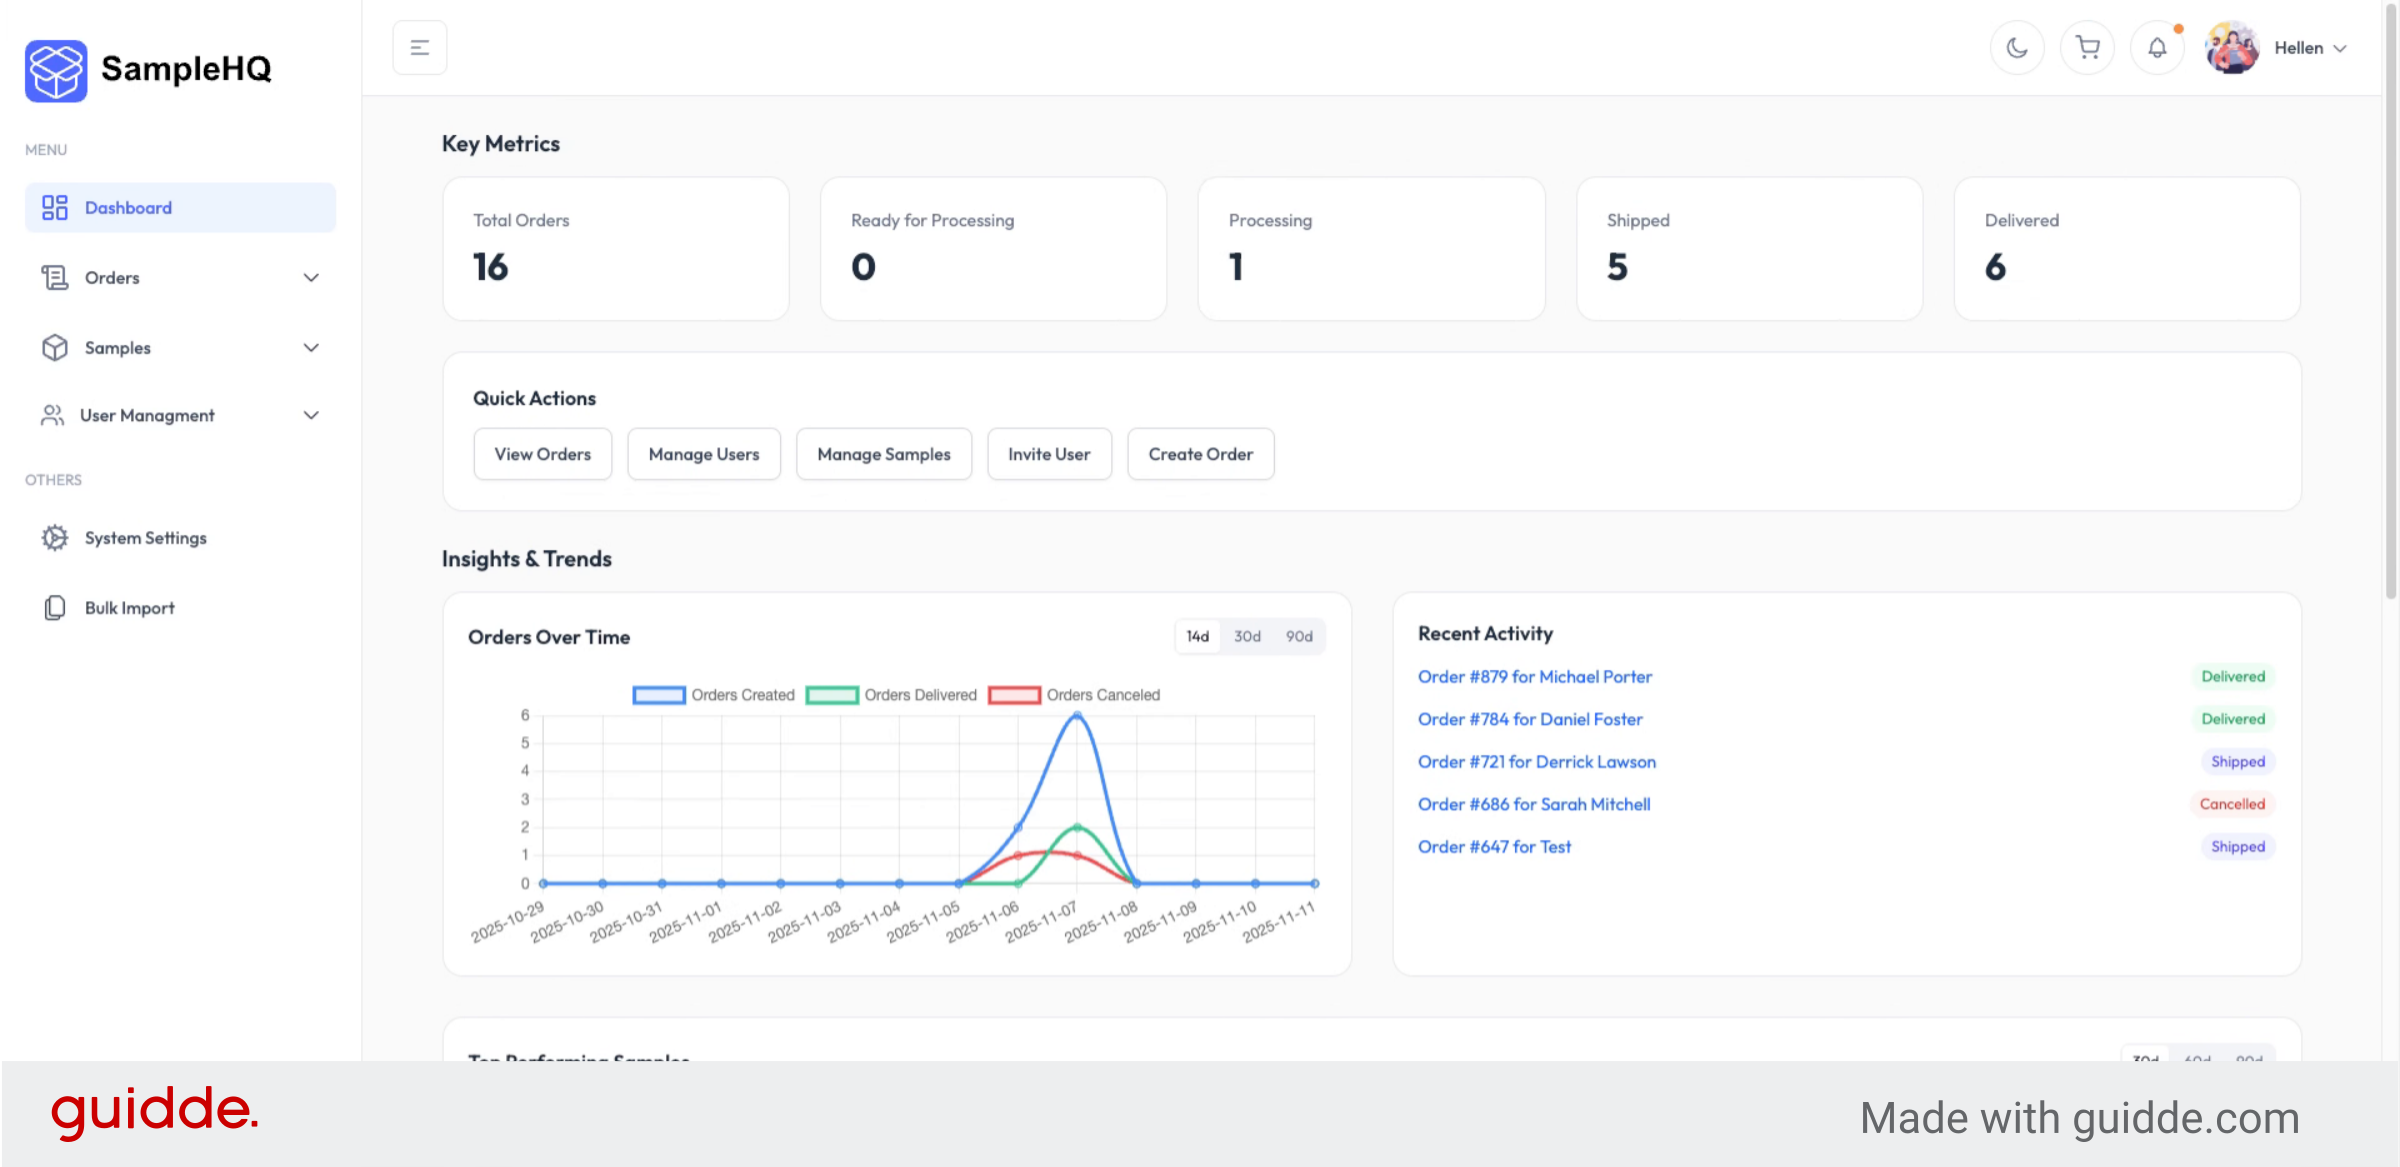
Open Bulk Import Section
Start by opening the bulk import section and click import samples.

-
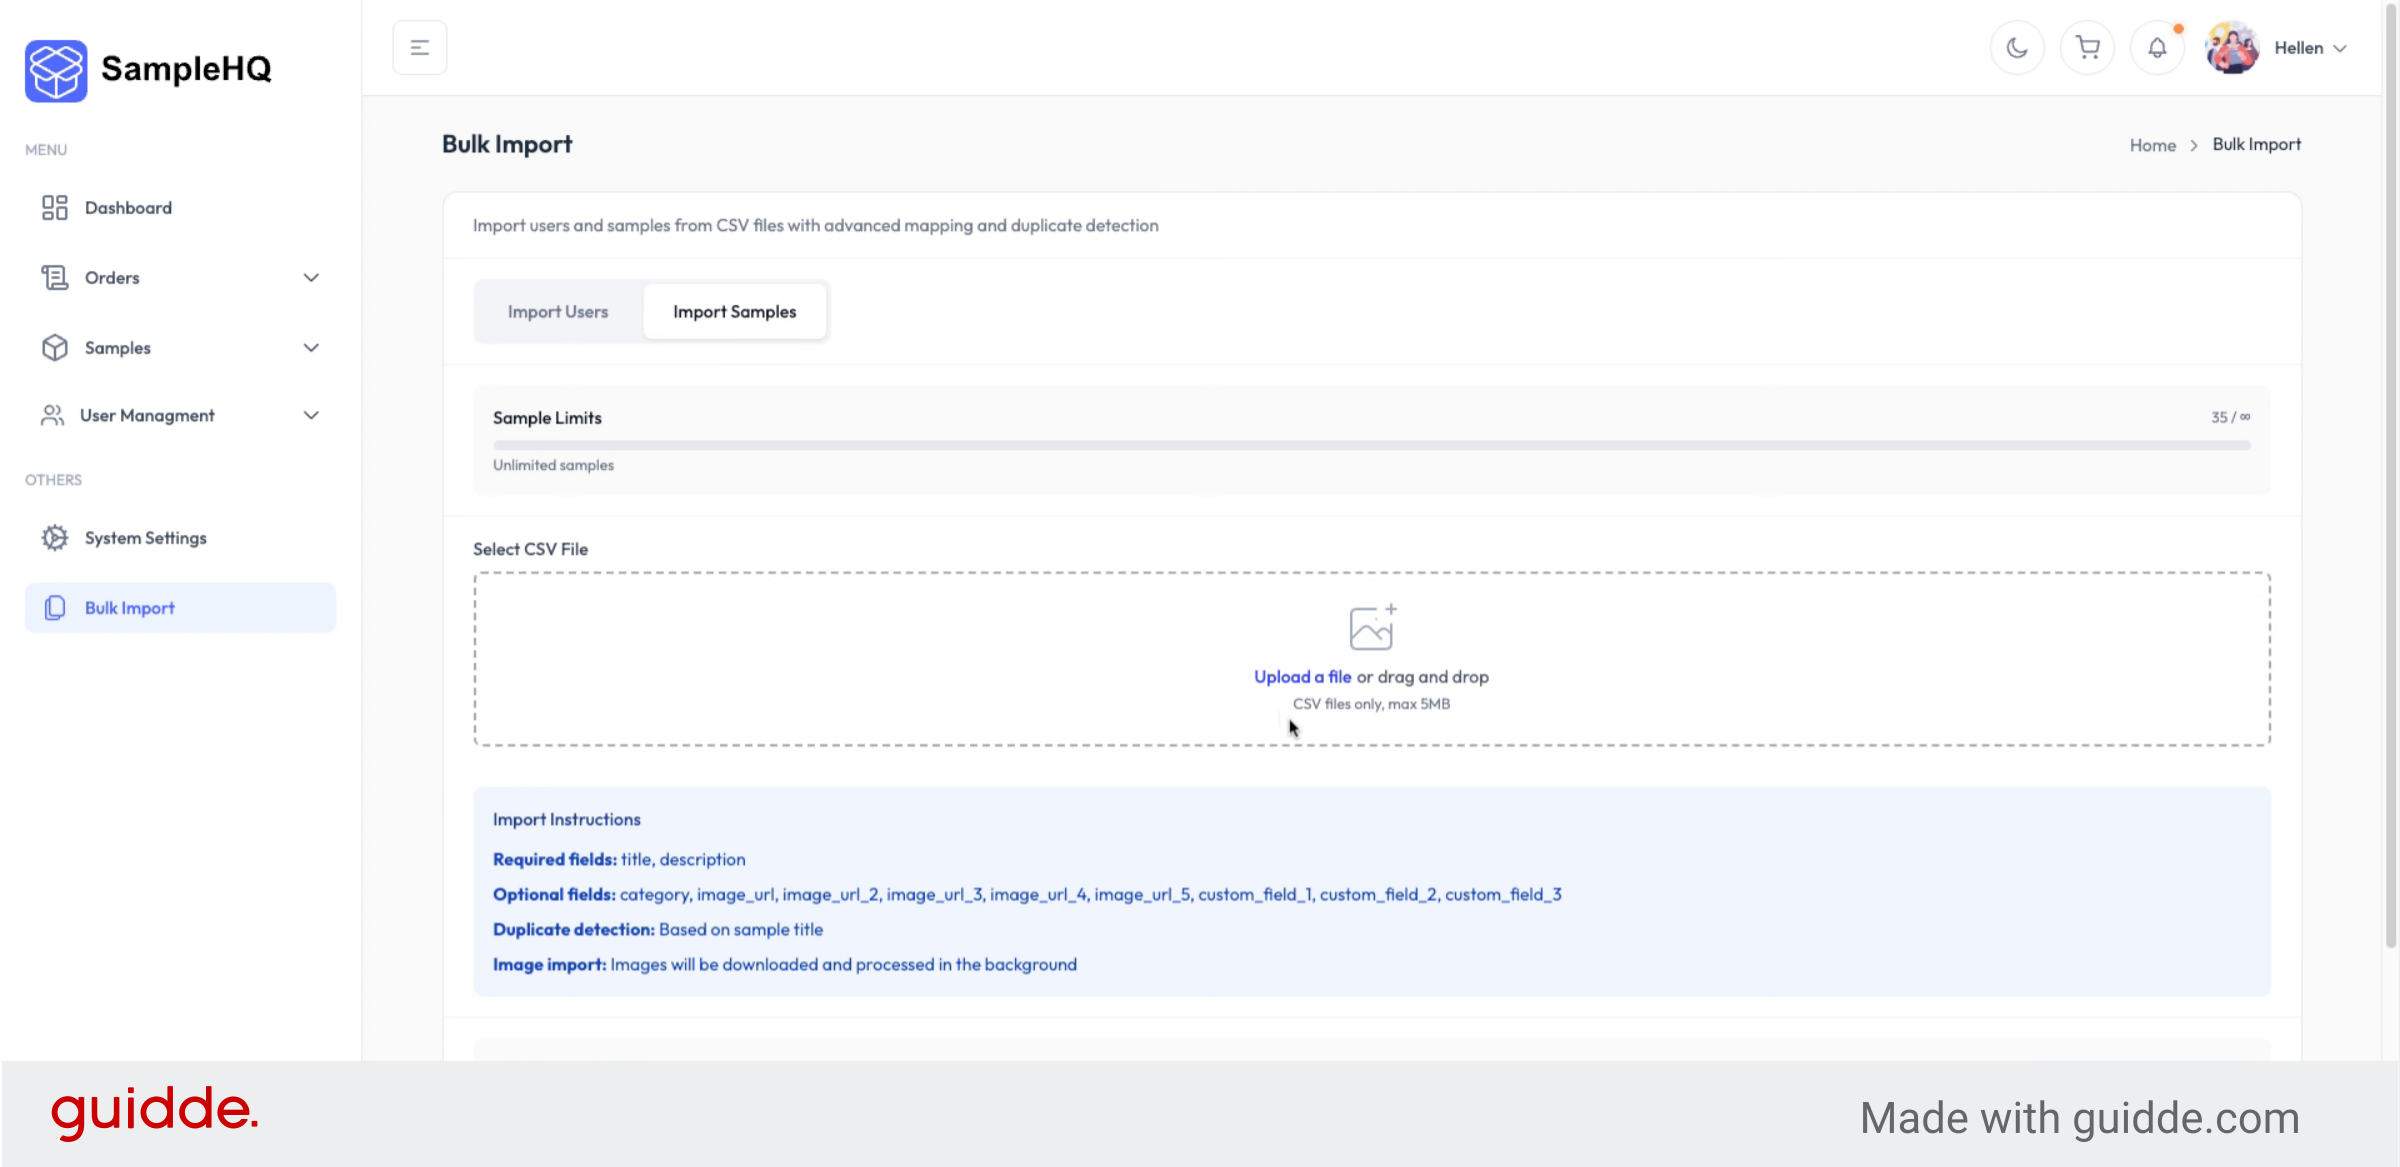
Download CSV Template
We recommend downloading the CSV template to make sure your data follows the correct format.
-
Enter Sample Details in Spreadsheet
Your CSV file should have all the fields you want associated with each sample, including links to each sample image.

-
Select File to Upload
Once your file is ready, upload it back to sample HQ.

-
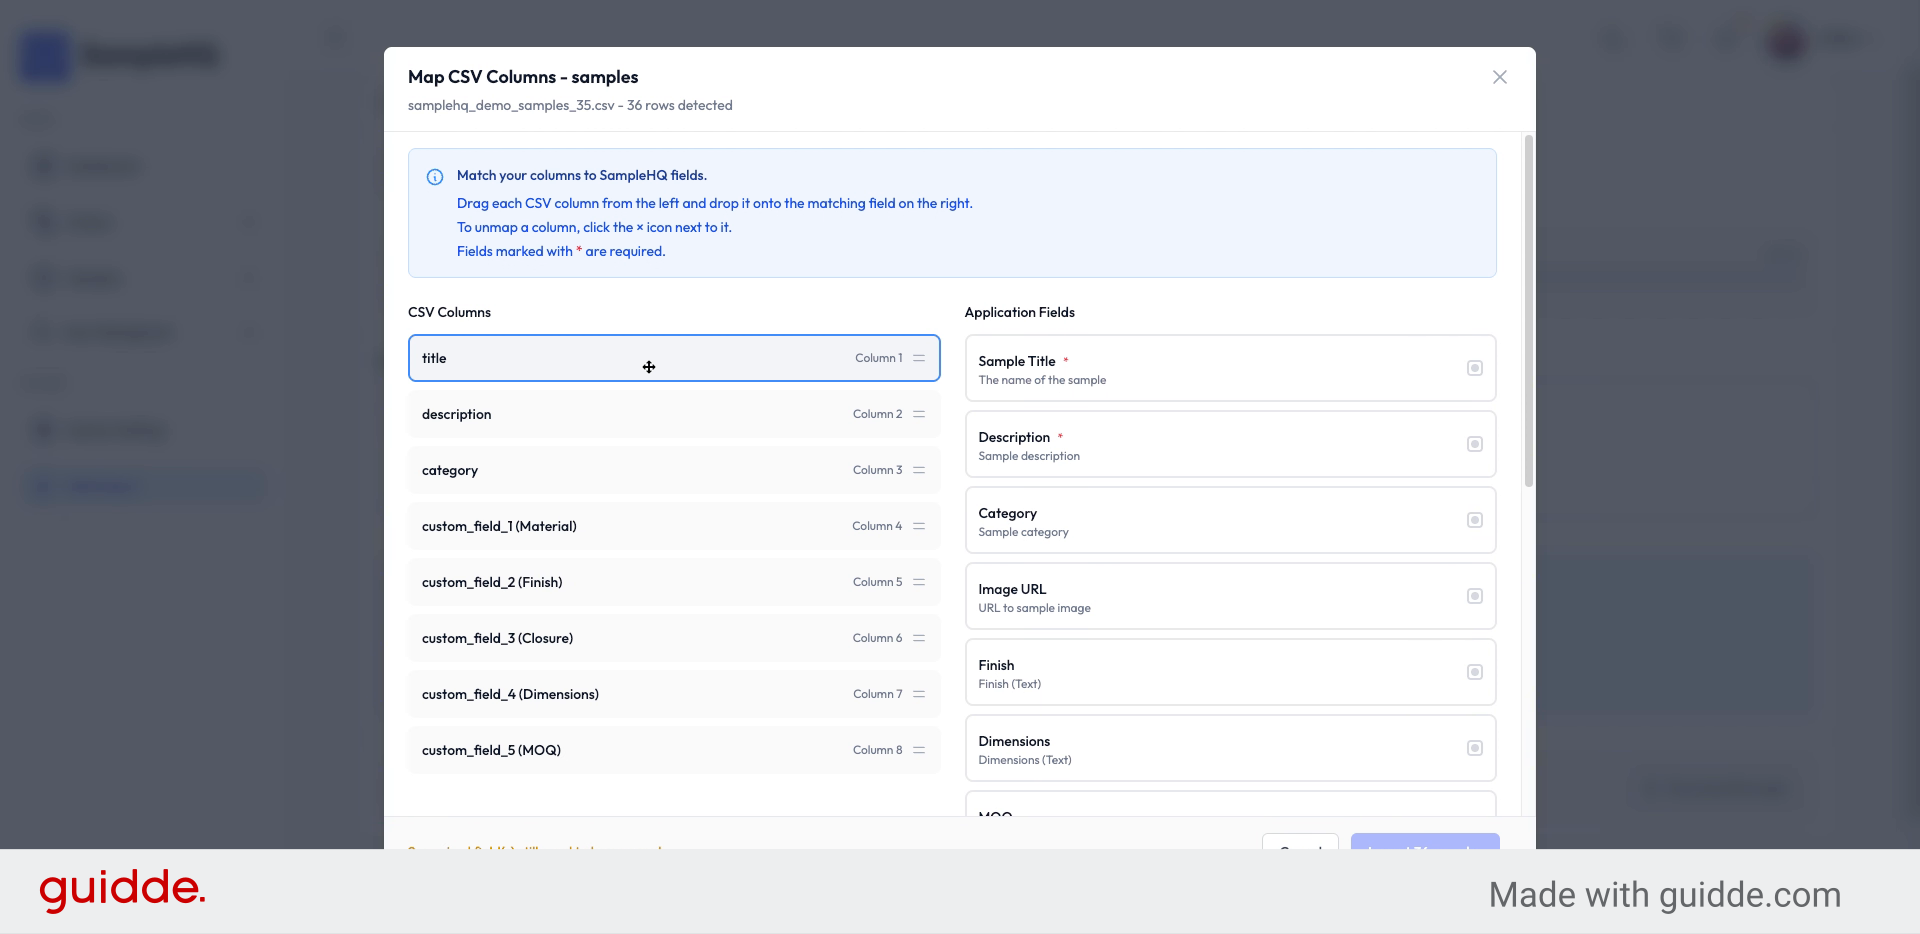
Overview
The system will automatically detect the fields in your file and ask you to map them to the corresponding fields in SampleHQ.For example, you can match the “Title” column from your CSV to the “Sample Name” field in SampleHQ.
-
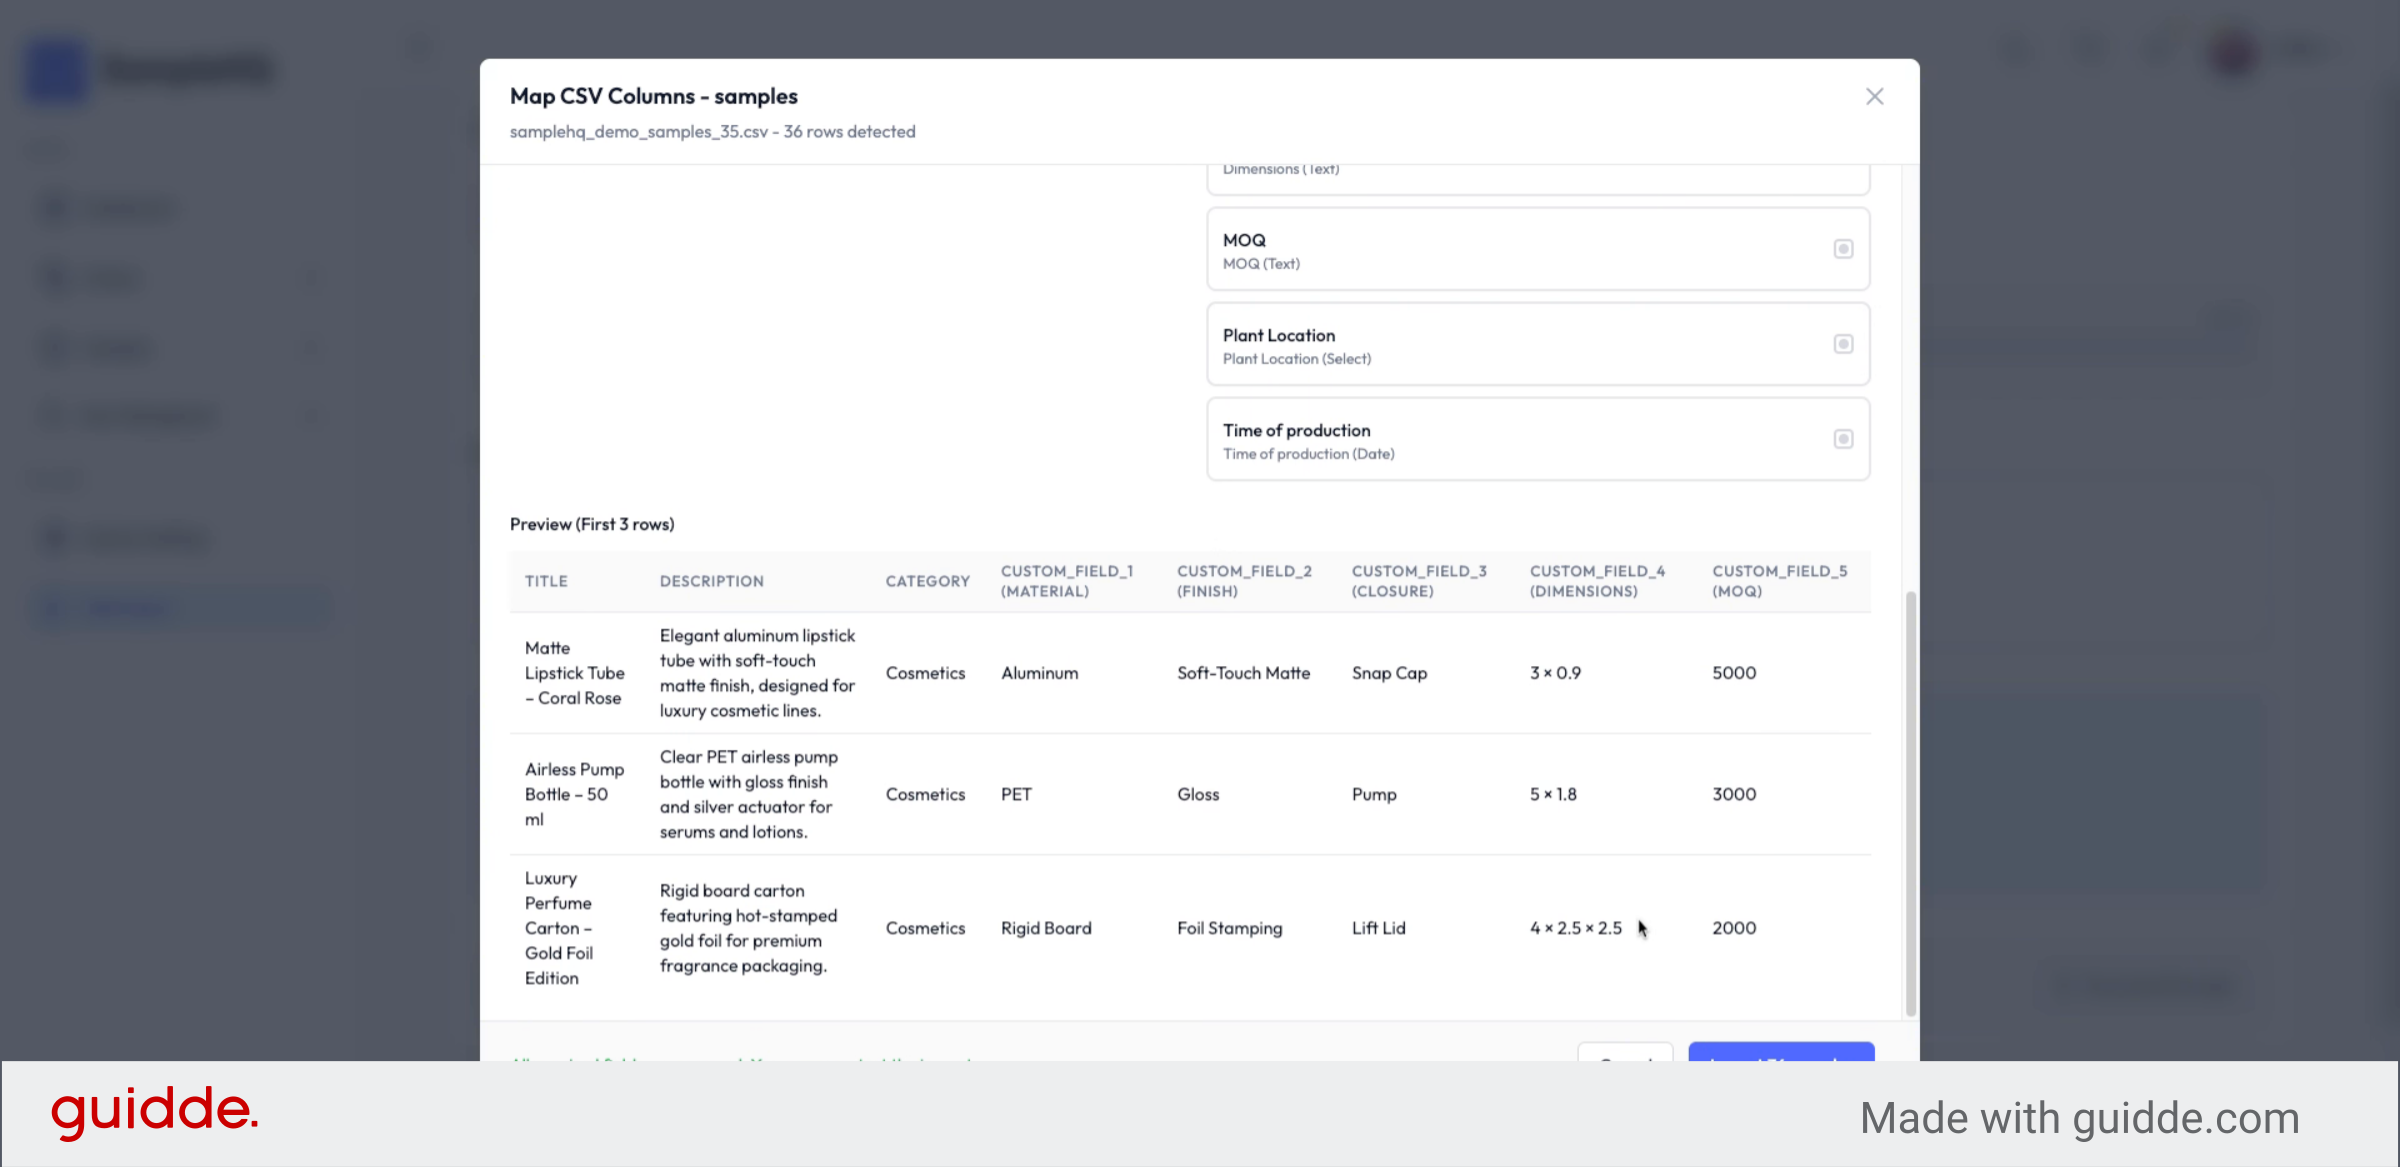
Confirm and Import Samples
When you are done mapping the fields, you will see a preview of your samples so you are certain your samples are mapped correctly. If everything is alright, just click Import Samples.
-
Complete Bulk Import Process
And that’s it. You’ll learn how to bulk import your samples and get your sample HQ Library ready in just a few minutes.
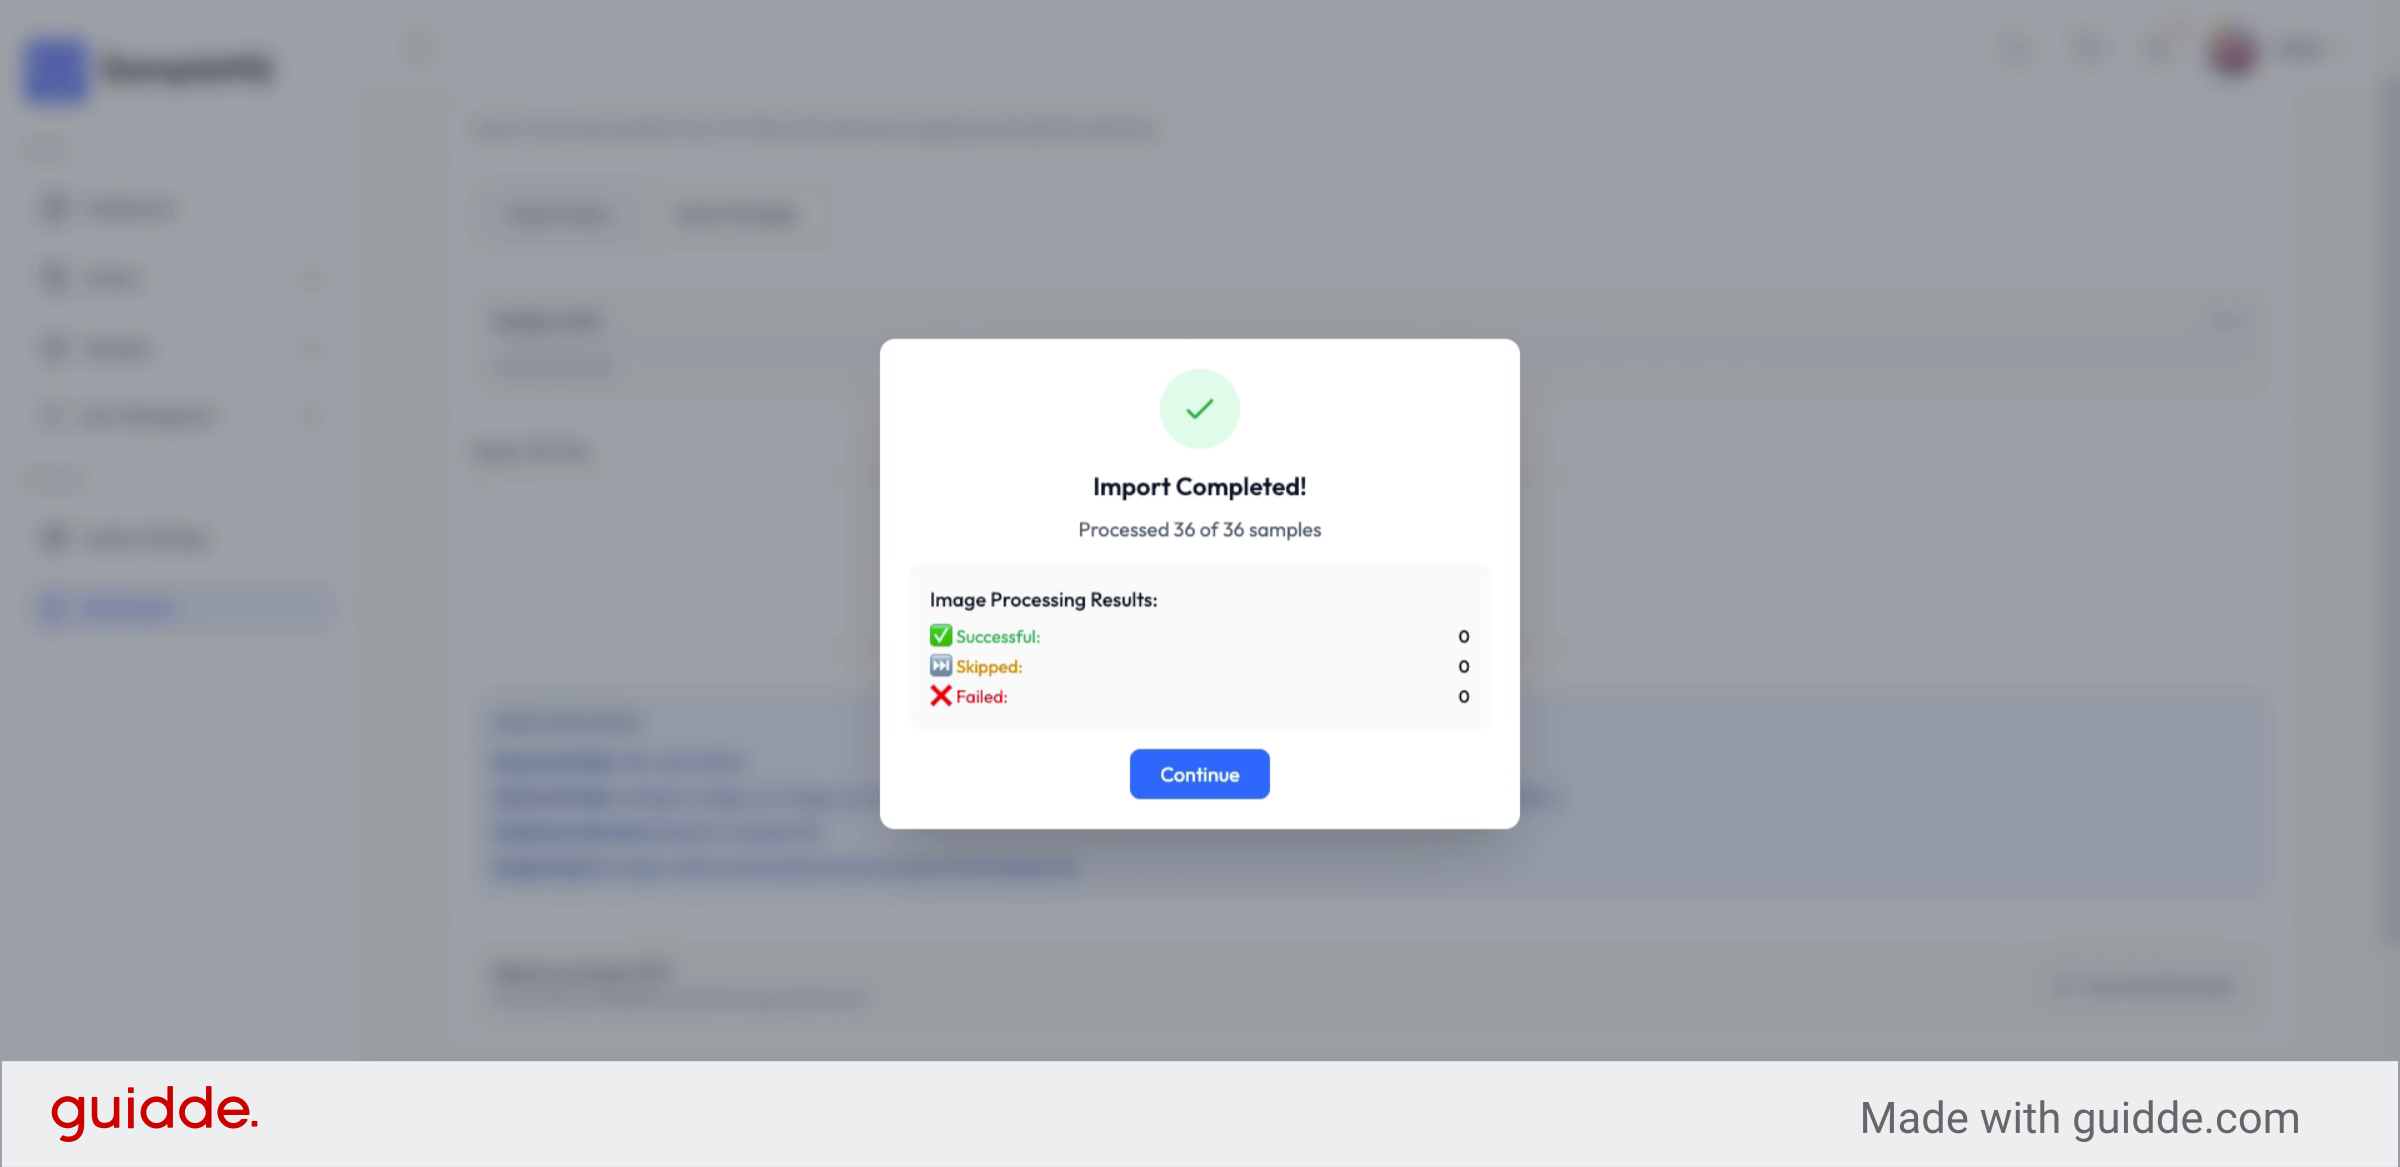
Now you can edit, categorize, or include these samples in new orders as needed.


